> ## Documentation Index
> Fetch the complete documentation index at: https://docs.claimr.io/llms.txt
> Use this file to discover all available pages before exploring further.
# Create Discord campaign
> Follow this tutorial to create your Discord campaign in Claimr, covering all steps from initial setup through configuring Discord-specific tasks.
Campaigns are the foundation of your user engagement strategy in Claimr. Think of a campaign as the main container for your interactive experience, holding all the quests, tasks, and rewards you design to guide users and achieve your goals. Using Claimr campaigns focused on Discord can help you:
* Increase your Discord server members.
* Encourage participation in Discord discussions or activities.
* Promote your Discord community.
* Reward users for joining and interacting with your server.
* Track the effectiveness of your Discord marketing efforts.
When creating a new campaign, Claimr offers pre-built **Basic** templates for a quick start. Alternatively, you can choose to start with an **Empty** campaign to build everything manually.
This tutorial guides you through the **manual process** of creating a campaign specifically designed for Discord engagement, including configuring the available Discord tasks.
## Create your campaign
From your Claimr dashboard, click **Campaigns** in the navigation menu, then click **Create new campaign**.
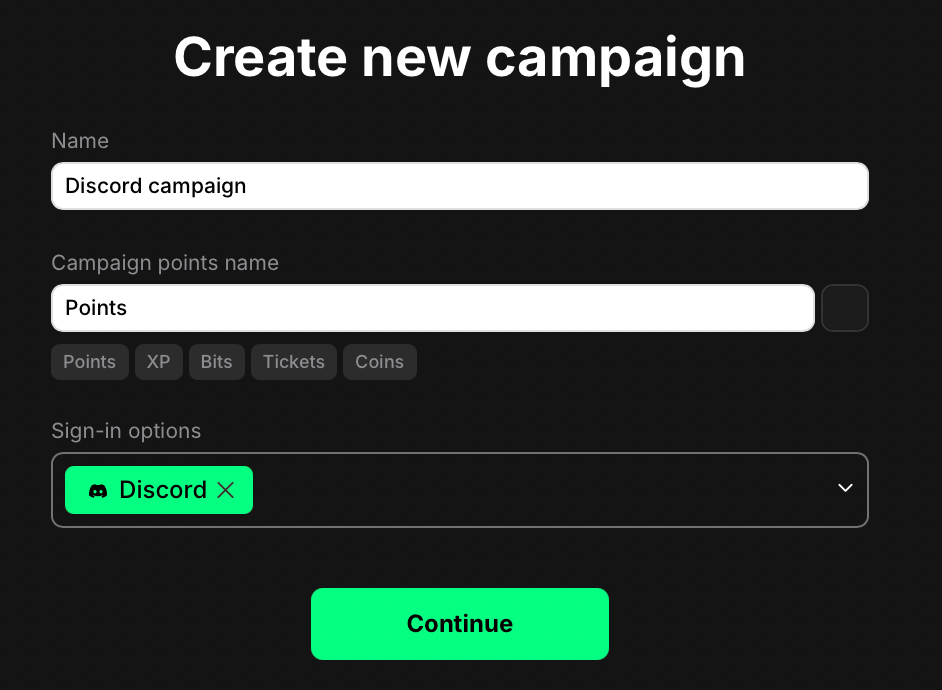 * **Name**: Enter a name for your campaign.
* **Campaign points name**: Enter the name for the points users will earn (e.g., Points, XP, Tokens).
* **Sign-in options**: Select **Discord**. This requires users to connect their Discord account to join and participate.
Click **Continue**.
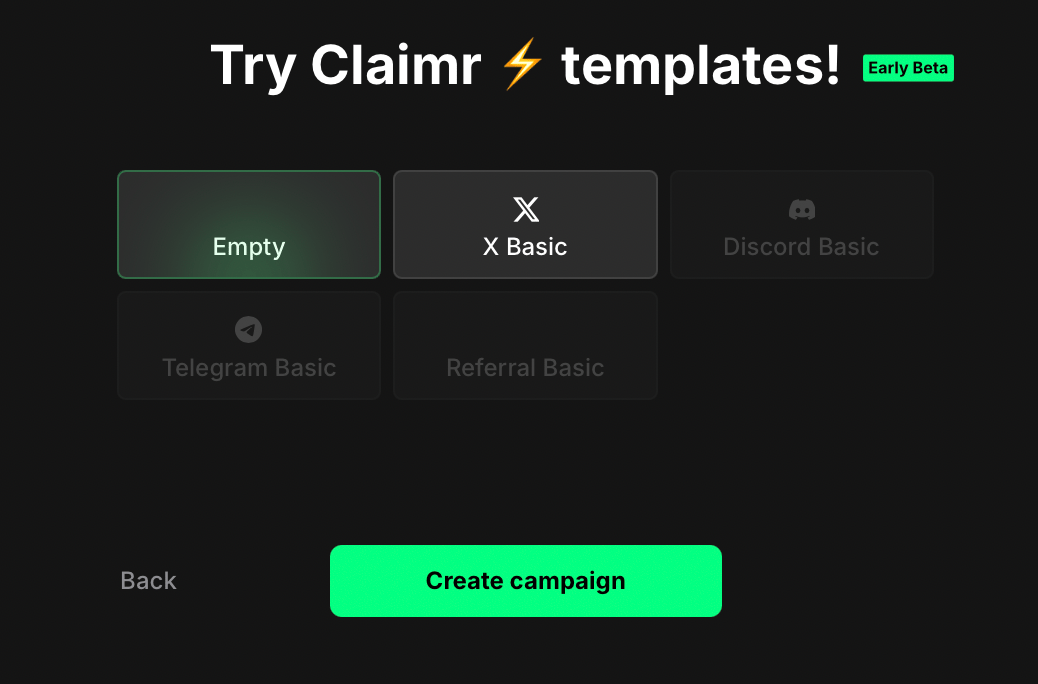
Select **Empty** to build your campaign manually and click **Create campaign**.
* **Name**: Enter a name for your campaign.
* **Campaign points name**: Enter the name for the points users will earn (e.g., Points, XP, Tokens).
* **Sign-in options**: Select **Discord**. This requires users to connect their Discord account to join and participate.
Click **Continue**.
Select **Empty** to build your campaign manually and click **Create campaign**.
 ## Create your quest
Once your campaign is created, you'll be automatically taken to the **Groups of quests** section.
## Create your quest
Once your campaign is created, you'll be automatically taken to the **Groups of quests** section.
 Quests are often organized into **Groups** for structure. You'll see a **Default group** already created.
Change the name of the **Default Group** by clicking the edit icon (pencil) on the right. In the **General** settings that open, type the new name in the **Name** field, then click **Update** to save.
Quests are often organized into **Groups** for structure. You'll see a **Default group** already created.
Change the name of the **Default Group** by clicking the edit icon (pencil) on the right. In the **General** settings that open, type the new name in the **Name** field, then click **Update** to save.
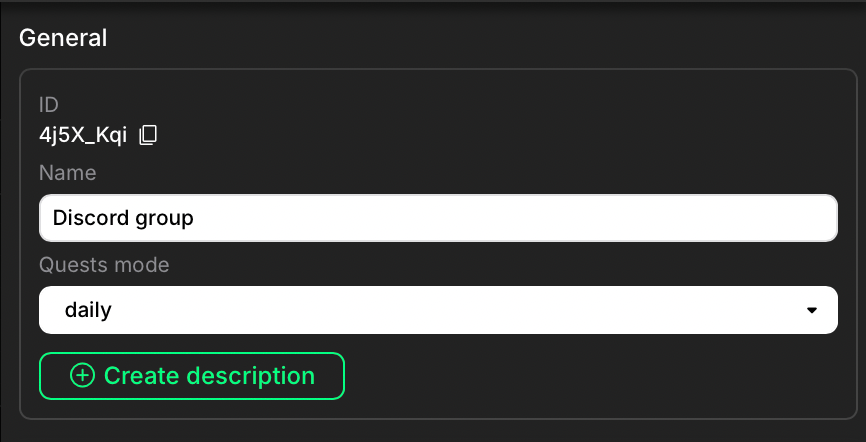 Within the **Group** area, click **+ Create quest**. Enter a descriptive name for your first quest and click **Create**.
 Click directly on the quest card to open its dedicated settings page.
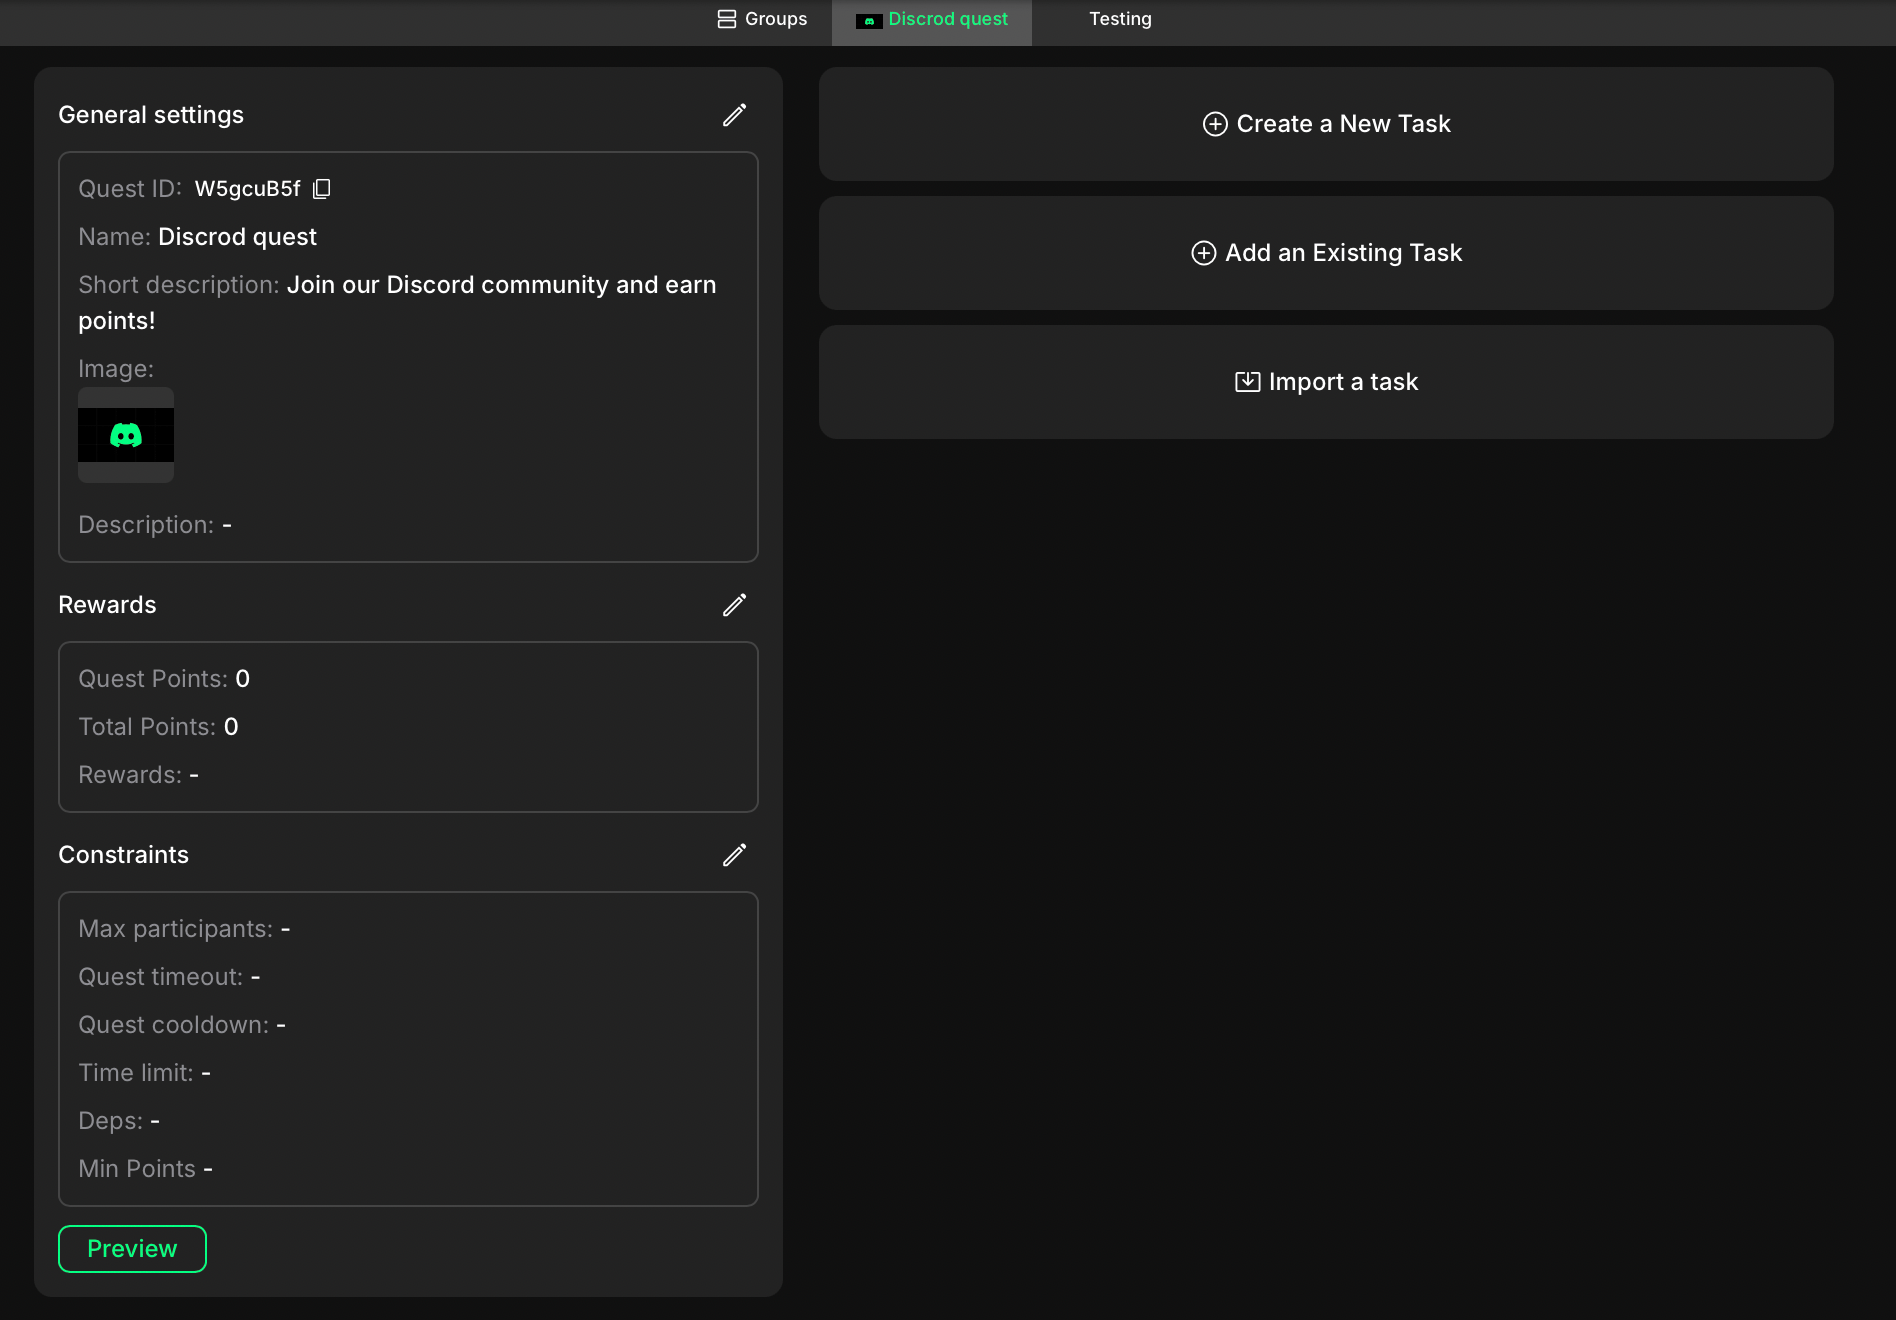 From this page, you can begin adding tasks to the quest, and edit the quest's **General Settings**, including changing the **Quest Name**, adding a **Description**, or uploading an **Image**.
For a detailed explanation of all available quest settings, see [Quest settings](/quests/quest-settings).
## Create your tasks
Now that your first quest is created, add the specific **Tasks** users need to complete. On the **Quest Settings** page, click the **+ Create new task** button.
Enter a name for this task. This name is essential for identifying the task internally and is **not** shown to participants.
From this page, you can begin adding tasks to the quest, and edit the quest's **General Settings**, including changing the **Quest Name**, adding a **Description**, or uploading an **Image**.
For a detailed explanation of all available quest settings, see [Quest settings](/quests/quest-settings).
## Create your tasks
Now that your first quest is created, add the specific **Tasks** users need to complete. On the **Quest Settings** page, click the **+ Create new task** button.
Enter a name for this task. This name is essential for identifying the task internally and is **not** shown to participants.
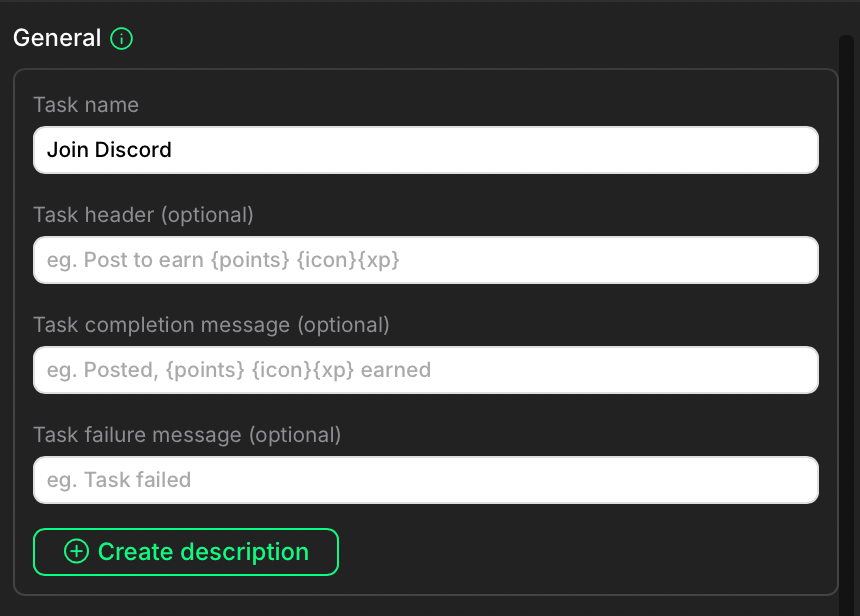 You can further customize the task using these optional fields:
* **Task header**: The title/instruction participants will see.
* **Task completion message**: Message shown on success.
* **Task failure message**: Message shown on failure.
* **Description**: Click **+ Create description** to add detailed instructions using a text editor. After creating, a **Collapse description** toggle appears to control if the description is initially hidden.
For a detailed explanation, see [Task settings](/tasks/task-settings).
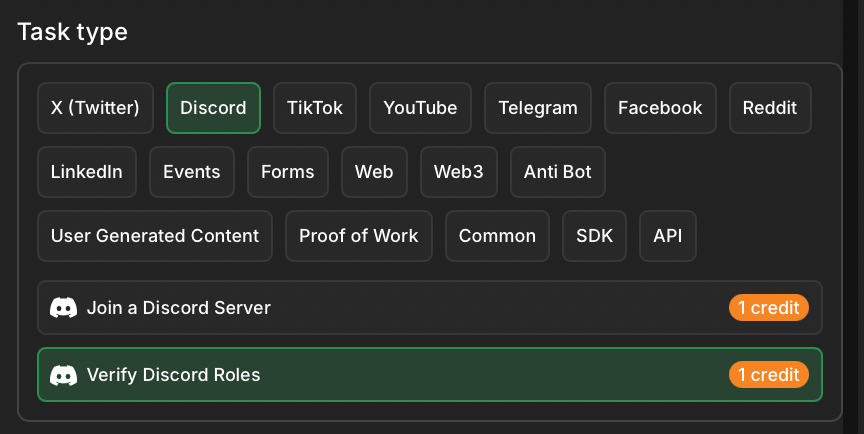
Select **Discord** from the platform options. You'll see two Discord-specific task types: **Join a Discord server** and **Verify Discord roles**. Select **Join a Discord server** to reward users for joining your server.
You can further customize the task using these optional fields:
* **Task header**: The title/instruction participants will see.
* **Task completion message**: Message shown on success.
* **Task failure message**: Message shown on failure.
* **Description**: Click **+ Create description** to add detailed instructions using a text editor. After creating, a **Collapse description** toggle appears to control if the description is initially hidden.
For a detailed explanation, see [Task settings](/tasks/task-settings).
Select **Discord** from the platform options. You'll see two Discord-specific task types: **Join a Discord server** and **Verify Discord roles**. Select **Join a Discord server** to reward users for joining your server.
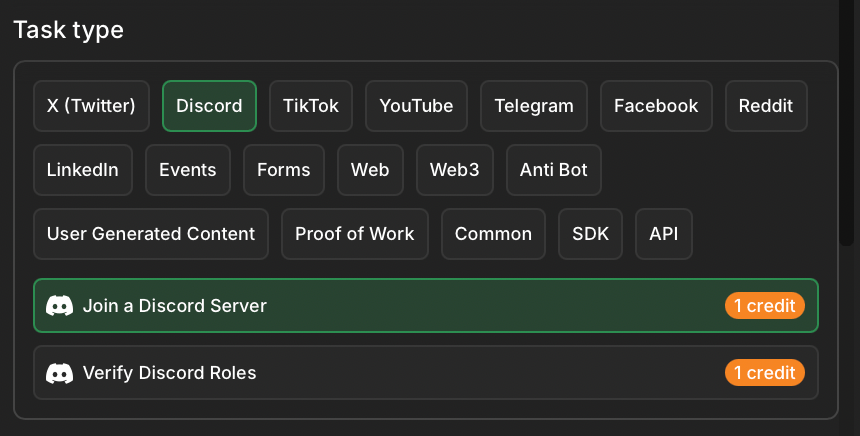 Before configuring a Discord task, add the Claimr bot to your Discord server and grant it administrator permissions. This allows Claimr to verify task completion. To add the bot, click the link provided within the Discord task settings interface in Claimr.
Scroll down to see the specific task settings for this task type:
Before configuring a Discord task, add the Claimr bot to your Discord server and grant it administrator permissions. This allows Claimr to verify task completion. To add the bot, click the link provided within the Discord task settings interface in Claimr.
Scroll down to see the specific task settings for this task type:
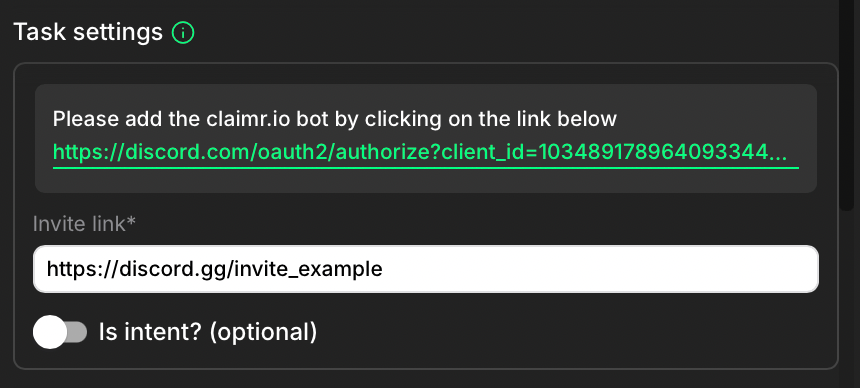 * **Invite link**: Add the invite link to your Discord server.
* **Is intent? (optional)**: Enable this toggle if you want users to manually confirm their intent to join before Claimr verifies their membership. If disabled, Claimr attempts verification directly after the user clicks to join.
To add multiple tasks to your campaign, click **+ Create new task** for each one and repeat the configuration process.
Scroll down to the **Task rewards** section to find the **Completion points** field. Enter the base number of points a user earns for successfully completing this specific task.
* **Invite link**: Add the invite link to your Discord server.
* **Is intent? (optional)**: Enable this toggle if you want users to manually confirm their intent to join before Claimr verifies their membership. If disabled, Claimr attempts verification directly after the user clicks to join.
To add multiple tasks to your campaign, click **+ Create new task** for each one and repeat the configuration process.
Scroll down to the **Task rewards** section to find the **Completion points** field. Enter the base number of points a user earns for successfully completing this specific task.
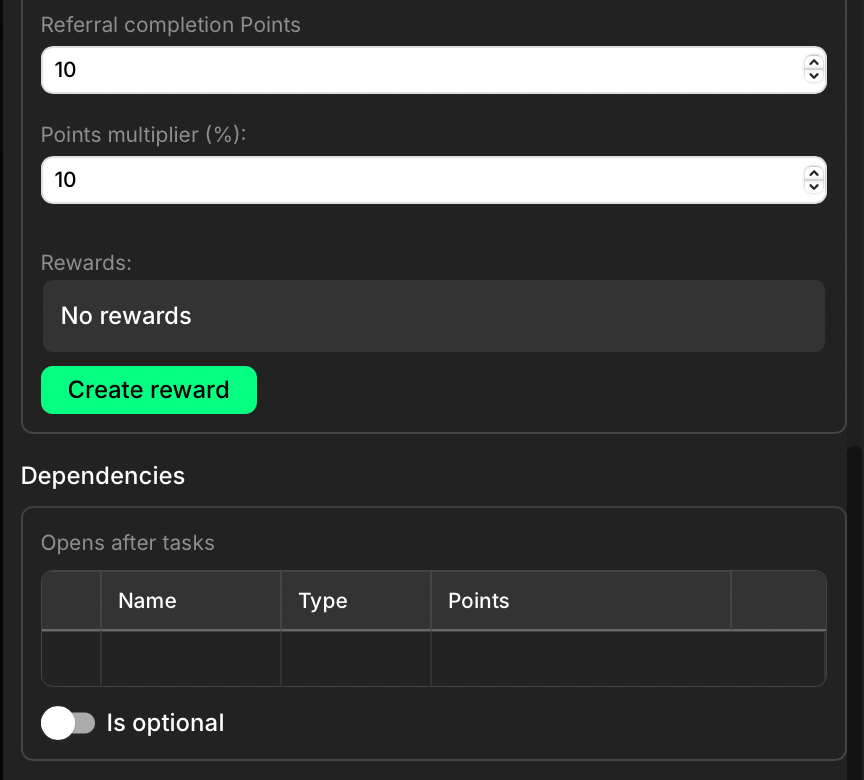
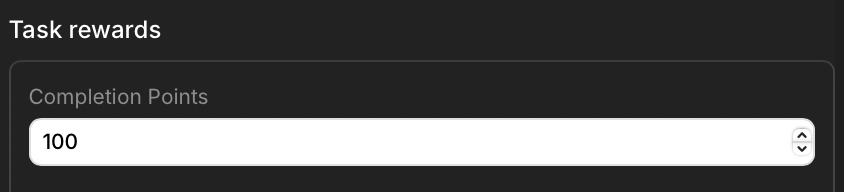 Below **Completion Points**, you'll find additional settings for **Referral completion Points**, **Points multiplier**, non-point **Rewards**, task **Dependencies**, and **Advanced settings**.
For a detailed explanation, see [Task settings](/tasks/task-settings).
Below **Completion Points**, you'll find additional settings for **Referral completion Points**, **Points multiplier**, non-point **Rewards**, task **Dependencies**, and **Advanced settings**.
For a detailed explanation, see [Task settings](/tasks/task-settings).
 ## Save and preview the task
Once you have configured all the task settings, click **Create** to save your configuration.
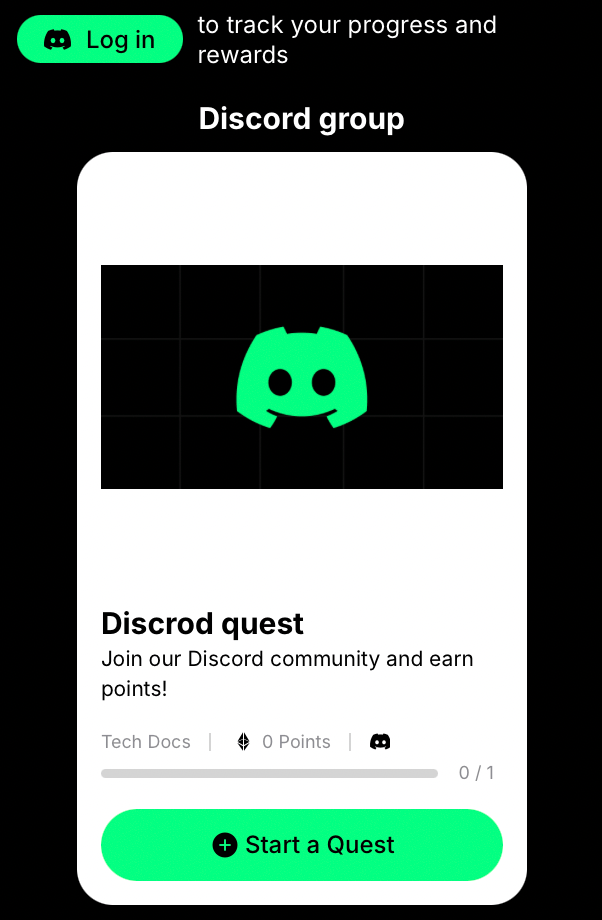
To see how this task will appear to users, click the **Preview** button (a play icon) located in the top-right, or navigate back to the main **Quest settings** page and click **Preview** under the quest details.
## Save and preview the task
Once you have configured all the task settings, click **Create** to save your configuration.
To see how this task will appear to users, click the **Preview** button (a play icon) located in the top-right, or navigate back to the main **Quest settings** page and click **Preview** under the quest details.
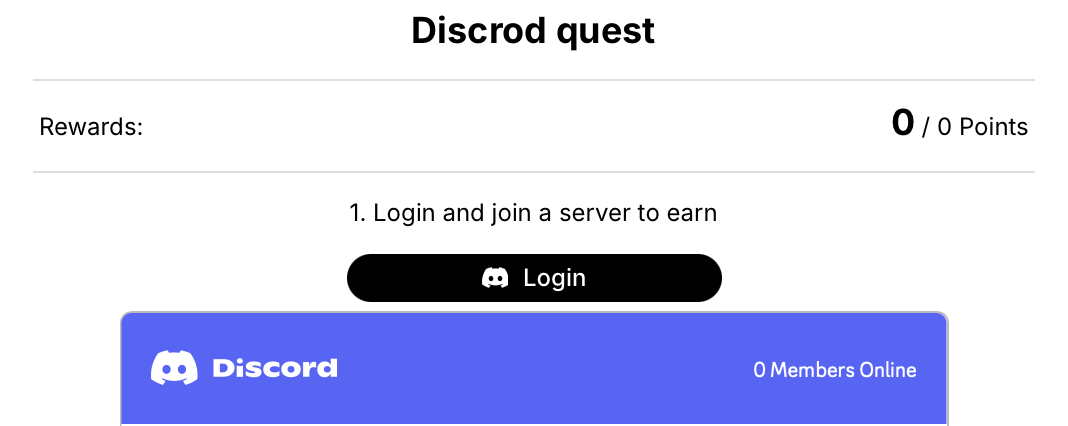 The preview opens in a new tab, showing desktop, tablet, and mobile views.
## Add another task
The other task type available specifically for Discord is **Verify Discord Roles**. Use this task to reward users for having one or more specific roles in your Discord server.
To add this task:
1. Click **+ Create new task** again within your quest.
2. Configure the **General** settings (Task name, header, messages, description) just as you did for the previous task.
3. In the **Task type** section, select **Discord**, and this time choose **Verify Discord roles**.
The preview opens in a new tab, showing desktop, tablet, and mobile views.
## Add another task
The other task type available specifically for Discord is **Verify Discord Roles**. Use this task to reward users for having one or more specific roles in your Discord server.
To add this task:
1. Click **+ Create new task** again within your quest.
2. Configure the **General** settings (Task name, header, messages, description) just as you did for the previous task.
3. In the **Task type** section, select **Discord**, and this time choose **Verify Discord roles**.
 Configure the specific settings for **Verify Discord roles**:
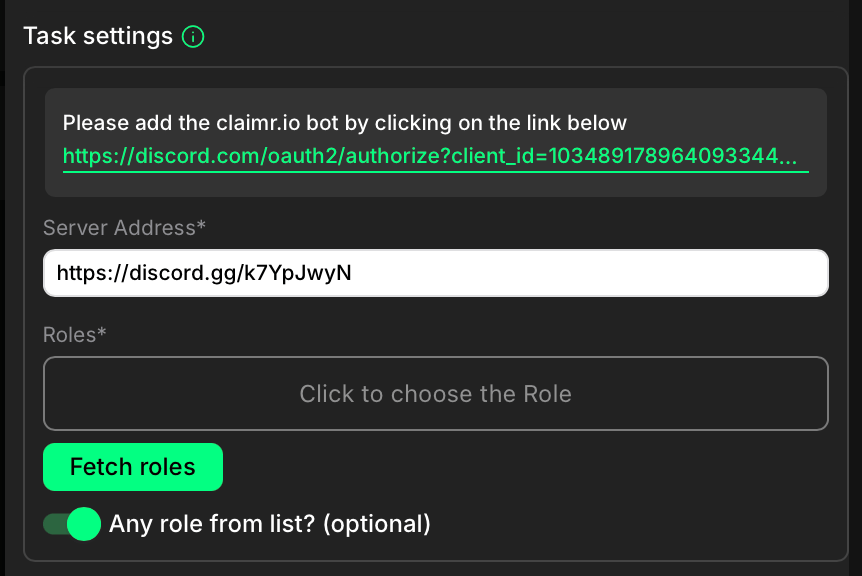 * **Server address**: Enter the full URL of your Discord server.
* **Fetch roles**: Click this button first to retrieve the list of available roles from your connected Discord server.
* **Roles**: Select the specific role(s) users need to have to complete this task.
* **Any role from list? (optional)**: Enable this toggle if having any one of the selected roles is enough to complete the task. Leave it disabled if the user must have all the selected roles.
After configuring these specific settings, move on to the **Task Rewards** section and adjust any **Dependencies** just as you did for the previous task. Once finished, click **Create** to save this task.
## Preview your campaign
Once you've configured all the campaign settings, see how it will appear to users. Click the **Preview** button (a play icon), located in the top-right of the task settings window. The preview opens in a new tab, showing desktop, tablet, and mobile views.
* **Server address**: Enter the full URL of your Discord server.
* **Fetch roles**: Click this button first to retrieve the list of available roles from your connected Discord server.
* **Roles**: Select the specific role(s) users need to have to complete this task.
* **Any role from list? (optional)**: Enable this toggle if having any one of the selected roles is enough to complete the task. Leave it disabled if the user must have all the selected roles.
After configuring these specific settings, move on to the **Task Rewards** section and adjust any **Dependencies** just as you did for the previous task. Once finished, click **Create** to save this task.
## Preview your campaign
Once you've configured all the campaign settings, see how it will appear to users. Click the **Preview** button (a play icon), located in the top-right of the task settings window. The preview opens in a new tab, showing desktop, tablet, and mobile views.
 In preview mode, try clicking the buttons and completing the actions to see exactly how participants will interact with the task.
 Looking to build campaigns for other platforms like X or Telegram? Check out our dedicated tutorials for step-by-step guides on those specific setups.