> ## Documentation Index
> Fetch the complete documentation index at: https://docs.claimr.io/llms.txt
> Use this file to discover all available pages before exploring further.
# Create X campaign
> Follow this tutorial to create your X (Twitter) campaign in Claimr, from initial setup through configuring the most popular X tasks.
Campaigns are the foundation of your user engagement strategy in Claimr. They act as the main container for your interactive experience, holding the quests, tasks, and rewards designed to guide users and achieve your goals. Creating a campaign focused specifically on X (formerly Twitter) can significantly boost your social media presence and engagement. Use X campaigns to:
* Increase your X followers.
* Promote your posts and drive engagement (likes, reposts, comments).
* Increase brand awareness and social media presence.
* Encourage users to participate in discussions or challenges on X.
When starting, you can use Claimr's pre-built templates (like **X Basic**) for a quick setup with common X tasks, or select **Empty** to build your campaign manually, giving you complete control over the structure and content.
This tutorial focuses on the **manual creation** process, guiding you step-by-step through setting up an X campaign and configuring the most popular X tasks.
## Create your campaign
From your Claimr dashboard, click **Campaigns** in the navigation menu, then click **Create new campaign**.
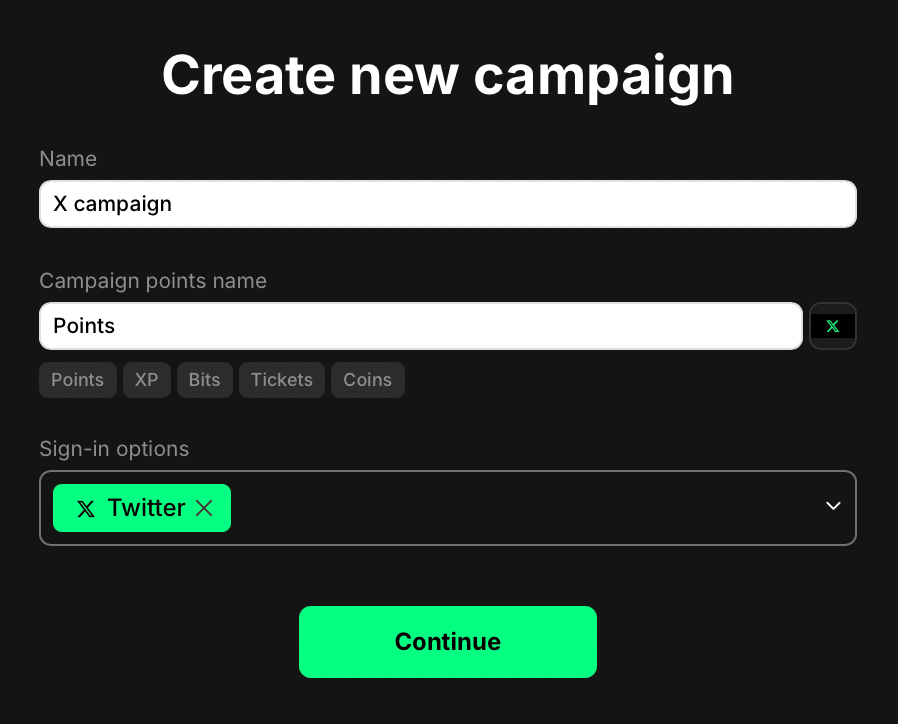 * **Name**: Enter a name for your campaign.
* **Campaign points name**: Enter the name for the points users will earn (e.g., Points, XP, Tokens).
* **Sign-in options**: Select **X Twitter**. This requires users to connect their X account to join and participate.
Click **Continue**.
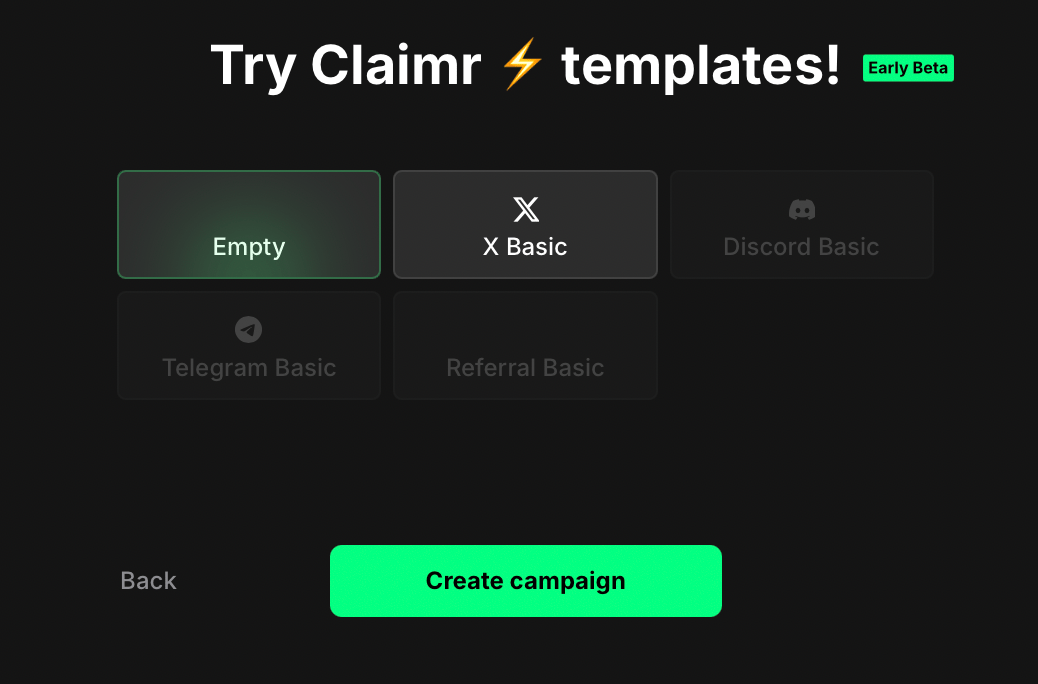
You'll now see options to start with a pre-built template or from scratch. Select **Empty** to build your campaign manually and click **Create campaign**.
* **Name**: Enter a name for your campaign.
* **Campaign points name**: Enter the name for the points users will earn (e.g., Points, XP, Tokens).
* **Sign-in options**: Select **X Twitter**. This requires users to connect their X account to join and participate.
Click **Continue**.
You'll now see options to start with a pre-built template or from scratch. Select **Empty** to build your campaign manually and click **Create campaign**.
 ## Create your quest
Once your campaign is created, you'll be automatically taken to the **Groups of quests** section. This is where you'll add and organize your quests.
## Create your quest
Once your campaign is created, you'll be automatically taken to the **Groups of quests** section. This is where you'll add and organize your quests.
 Quests are often organized into **Groups** for structure. You'll see a **Default group** already created.
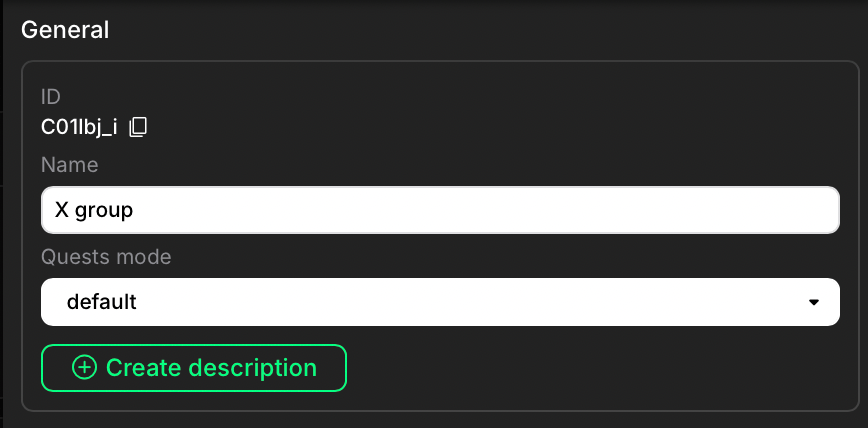
Change the name of the **Default Group** by clicking the edit icon (pencil) on the right. In the **General** settings that open, type the new name in the **Name** field, then click **Update** to save. You'll be returned to the **Groups** dashboard.
Quests are often organized into **Groups** for structure. You'll see a **Default group** already created.
Change the name of the **Default Group** by clicking the edit icon (pencil) on the right. In the **General** settings that open, type the new name in the **Name** field, then click **Update** to save. You'll be returned to the **Groups** dashboard.
 Within the **Group** area, click **+ Create quest**. Enter a descriptive name for your first quest and click **Create**.
Your newly created quest will now appear as a card within the group on the **Quests** page.
Within the **Group** area, click **+ Create quest**. Enter a descriptive name for your first quest and click **Create**.
Your newly created quest will now appear as a card within the group on the **Quests** page.
 Click directly on the quest card to open its dedicated settings page.
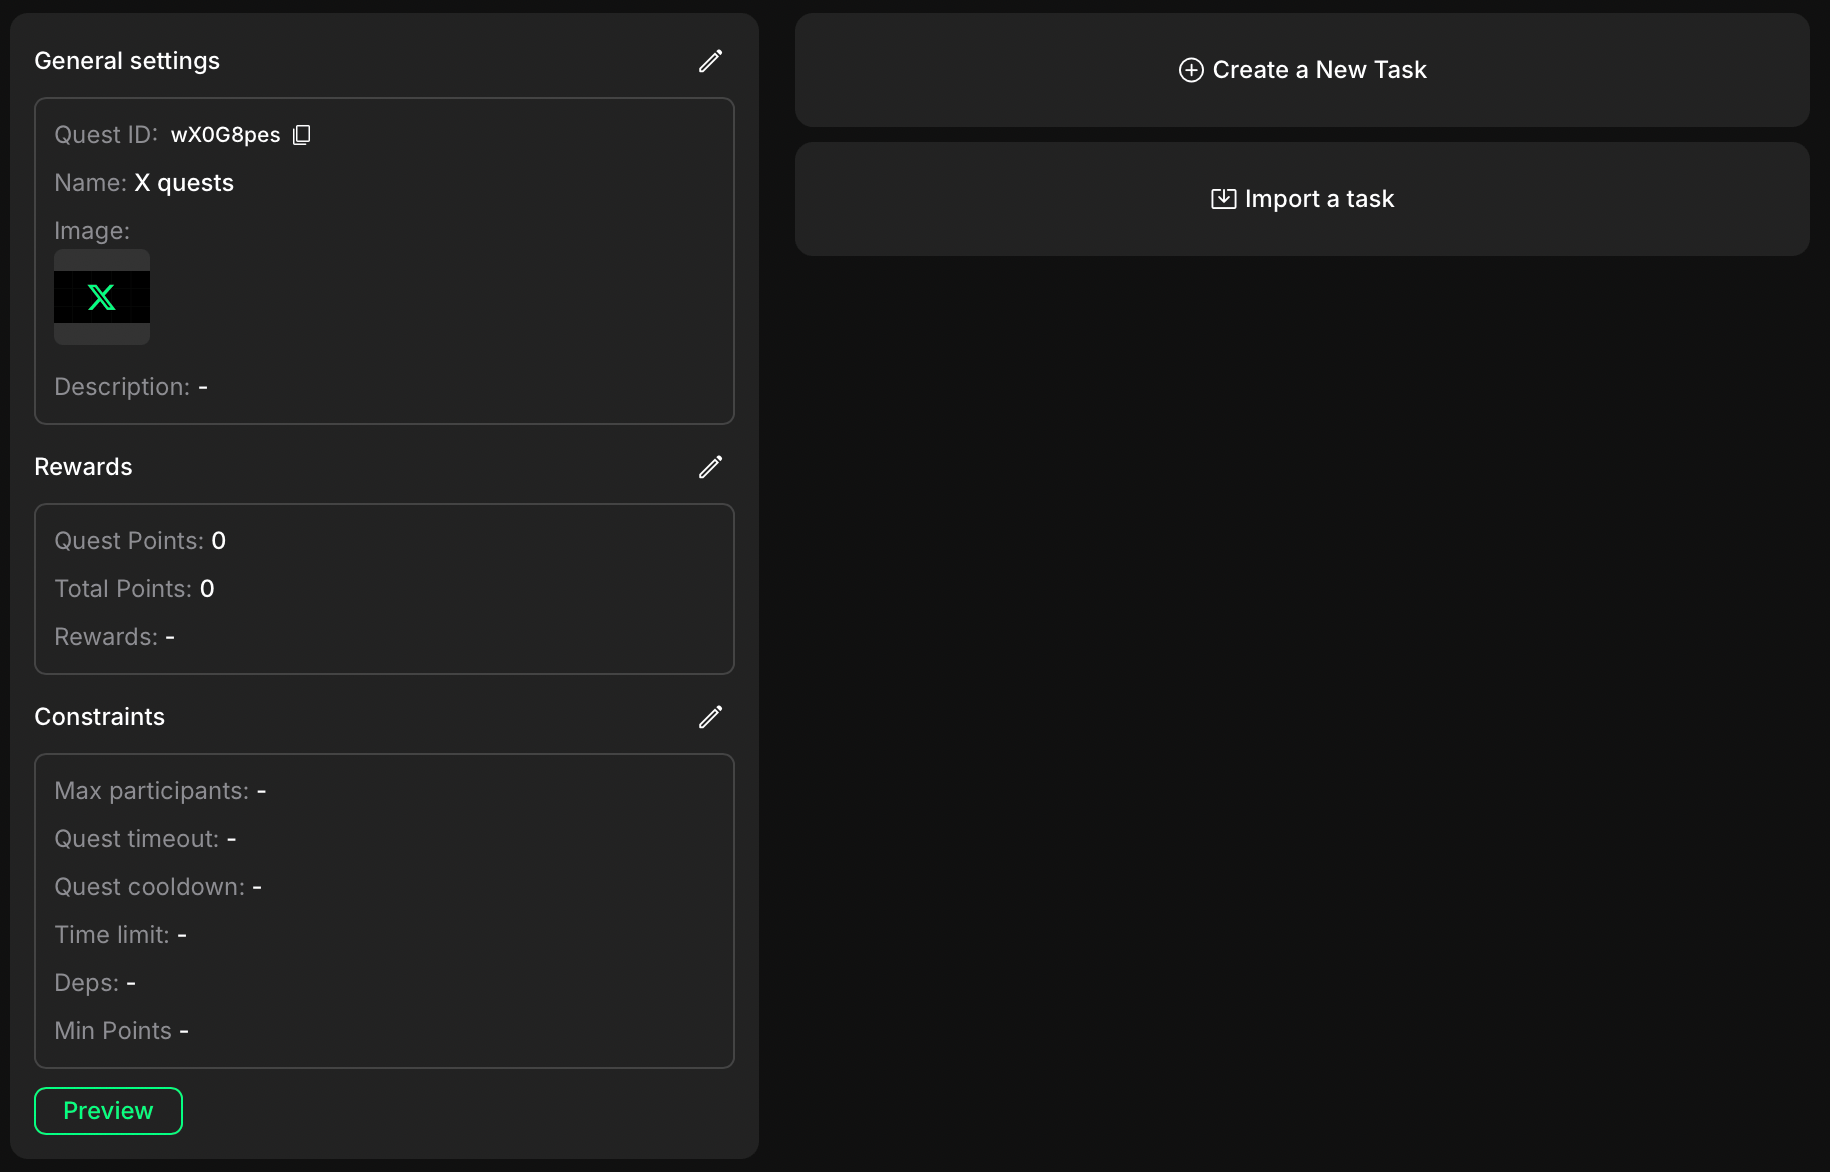 From this page, you can begin adding tasks to the quest, and edit the quest's **General Settings**, including changing the **Quest Name**, adding a **Description**, or uploading an **Image**.
For a detailed explanation of all available quest settings, see [Quest settings](/quests/quest-settings).
## Create your tasks
Now that your first quest is created, the next step is to add the specific **Tasks** users need to complete. On the **Quest Settings** page, click the **+ Create new task** button. This will open the task configuration window.
The task configuration window starts with the **General settings**. Enter a name for this task. This name is essential for identifying the task internally and is **not** shown to participants.
From this page, you can begin adding tasks to the quest, and edit the quest's **General Settings**, including changing the **Quest Name**, adding a **Description**, or uploading an **Image**.
For a detailed explanation of all available quest settings, see [Quest settings](/quests/quest-settings).
## Create your tasks
Now that your first quest is created, the next step is to add the specific **Tasks** users need to complete. On the **Quest Settings** page, click the **+ Create new task** button. This will open the task configuration window.
The task configuration window starts with the **General settings**. Enter a name for this task. This name is essential for identifying the task internally and is **not** shown to participants.
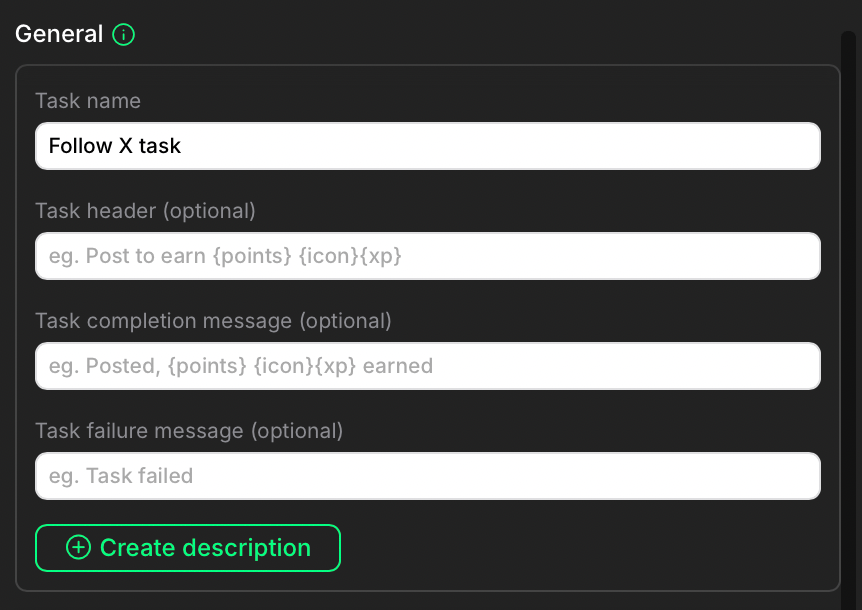 You can further customize the task using these optional fields:
* **Task header**: The title/instruction participants will see.
* **Task completion message**: Message shown on success.
* **Task failure message**: Message shown on failure.
* **Description**: Click **+ Create description** to add detailed instructions using a text editor. After creating, a **Collapse description** toggle appears to control if the description is initially hidden.
For a detailed explanation of all task settings, see [Task settings](/tasks/task-settings).
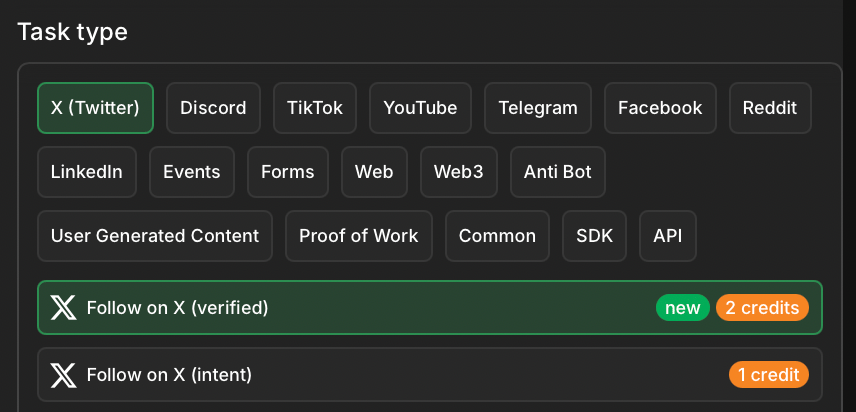
Select **X (Twitter)** from the platform options, then select the specific task type **Follow on X**. This task rewards users for following a specified X account and is a **Verified** task.
You can further customize the task using these optional fields:
* **Task header**: The title/instruction participants will see.
* **Task completion message**: Message shown on success.
* **Task failure message**: Message shown on failure.
* **Description**: Click **+ Create description** to add detailed instructions using a text editor. After creating, a **Collapse description** toggle appears to control if the description is initially hidden.
For a detailed explanation of all task settings, see [Task settings](/tasks/task-settings).
Select **X (Twitter)** from the platform options, then select the specific task type **Follow on X**. This task rewards users for following a specified X account and is a **Verified** task.
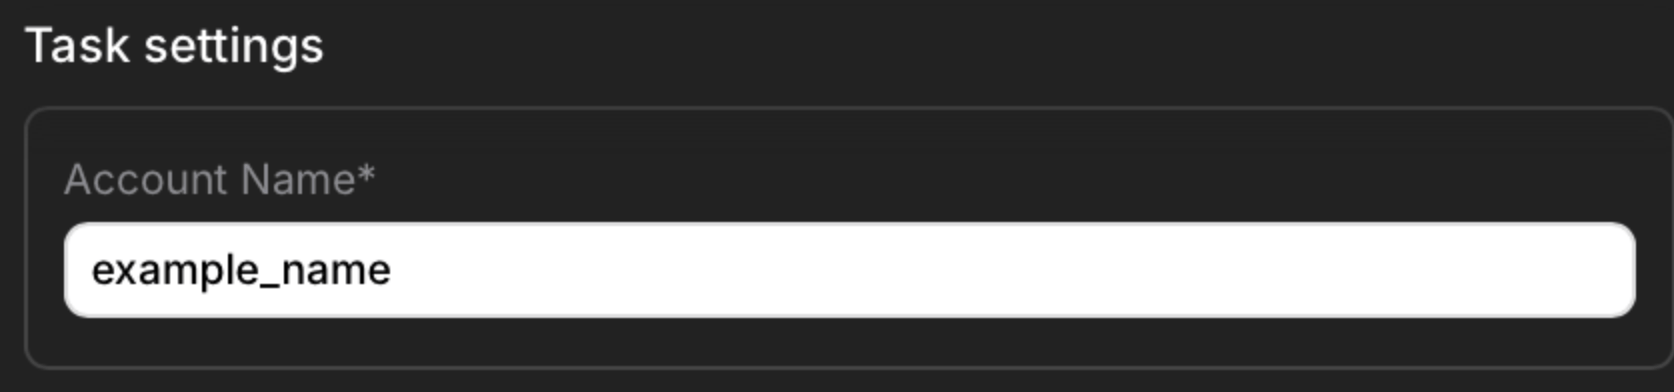
 Scroll down till you see the specific task settings for this task type, then enter the username of the X account you want users to follow, without the "@" symbol.
 To add multiple tasks to your campaign, click **+ Create new task** for each one and repeat the configuration process.
Scroll down to the **Task rewards** section to find the **Completion points** field. Enter the base number of points a user earns for successfully completing this specific task.
To add multiple tasks to your campaign, click **+ Create new task** for each one and repeat the configuration process.
Scroll down to the **Task rewards** section to find the **Completion points** field. Enter the base number of points a user earns for successfully completing this specific task.
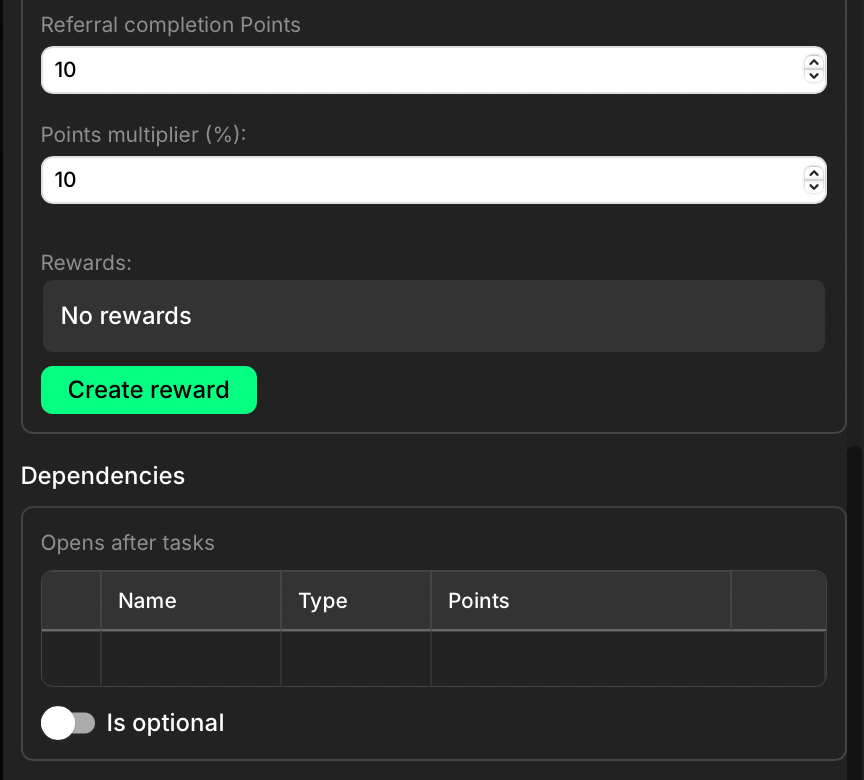
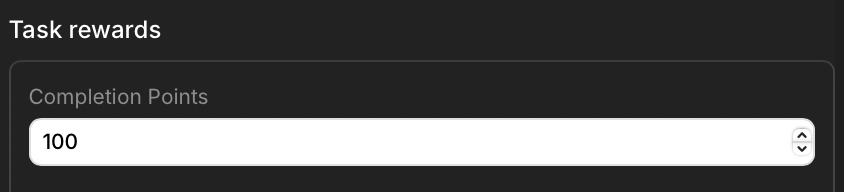 Below **Completion Points**, you'll find additional settings for **Referral completion Points**, **Points multiplier**, non-point **Rewards**, task **Dependencies**, and **Advanced settings**. These allow for more complex reward structures and task flows.
For a detailed explanation, see [Task settings](/tasks/task-settings).
Below **Completion Points**, you'll find additional settings for **Referral completion Points**, **Points multiplier**, non-point **Rewards**, task **Dependencies**, and **Advanced settings**. These allow for more complex reward structures and task flows.
For a detailed explanation, see [Task settings](/tasks/task-settings).
 ## Save and preview the task
Once you have configured all the task settings, click **Create** to save your configuration. Your task is now configured within the quest.
To see how this task will appear to users, click the **Preview** button (a play icon) located in the top-right, or navigate back to the main **Quest settings** page and click **Preview** under the quest details.
## Save and preview the task
Once you have configured all the task settings, click **Create** to save your configuration. Your task is now configured within the quest.
To see how this task will appear to users, click the **Preview** button (a play icon) located in the top-right, or navigate back to the main **Quest settings** page and click **Preview** under the quest details.
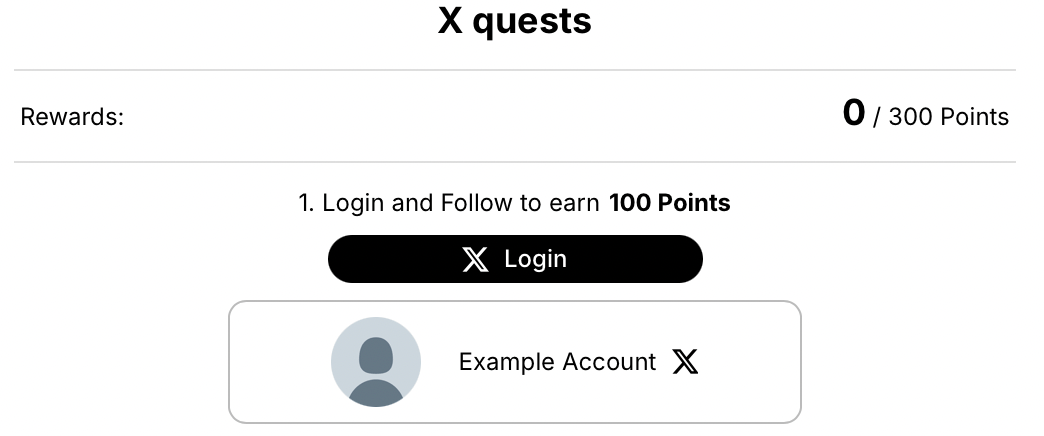 The preview opens in a new tab showing desktop, tablet, and mobile views.
## Add more tasks
To add more actions for users to complete, repeat the task creation process starting from the **Create new task** page. Here are the settings for the most popular X tasks.
### Repost
The preview opens in a new tab showing desktop, tablet, and mobile views.
## Add more tasks
To add more actions for users to complete, repeat the task creation process starting from the **Create new task** page. Here are the settings for the most popular X tasks.
### Repost
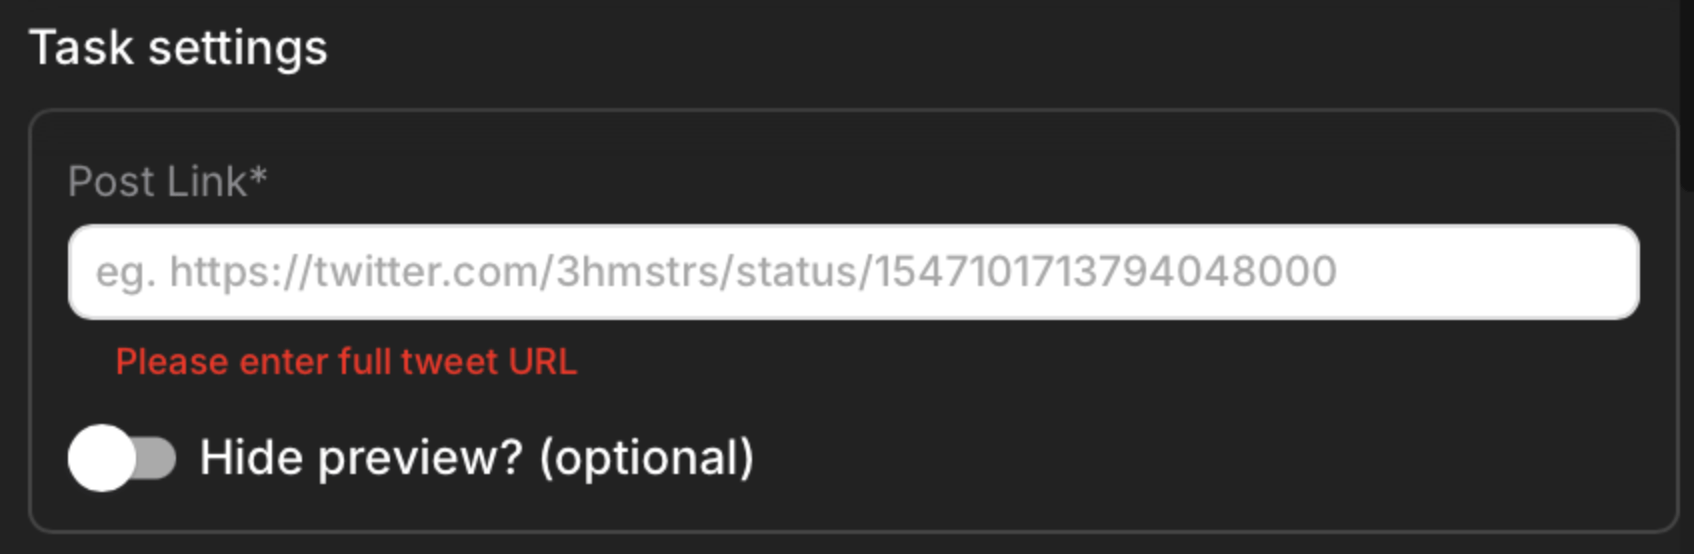
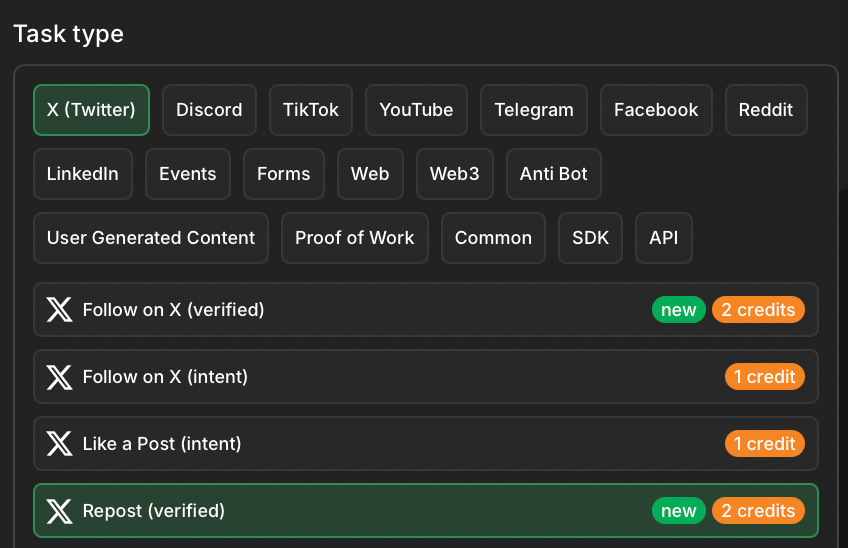 Use this task to reward users for reposting a specific post on X. Enter the full URL of the X post you want users to repost in the **Post Link** field. Optionally, enable the **Hide preview?** toggle to hide the post preview within the task.
 ### Post
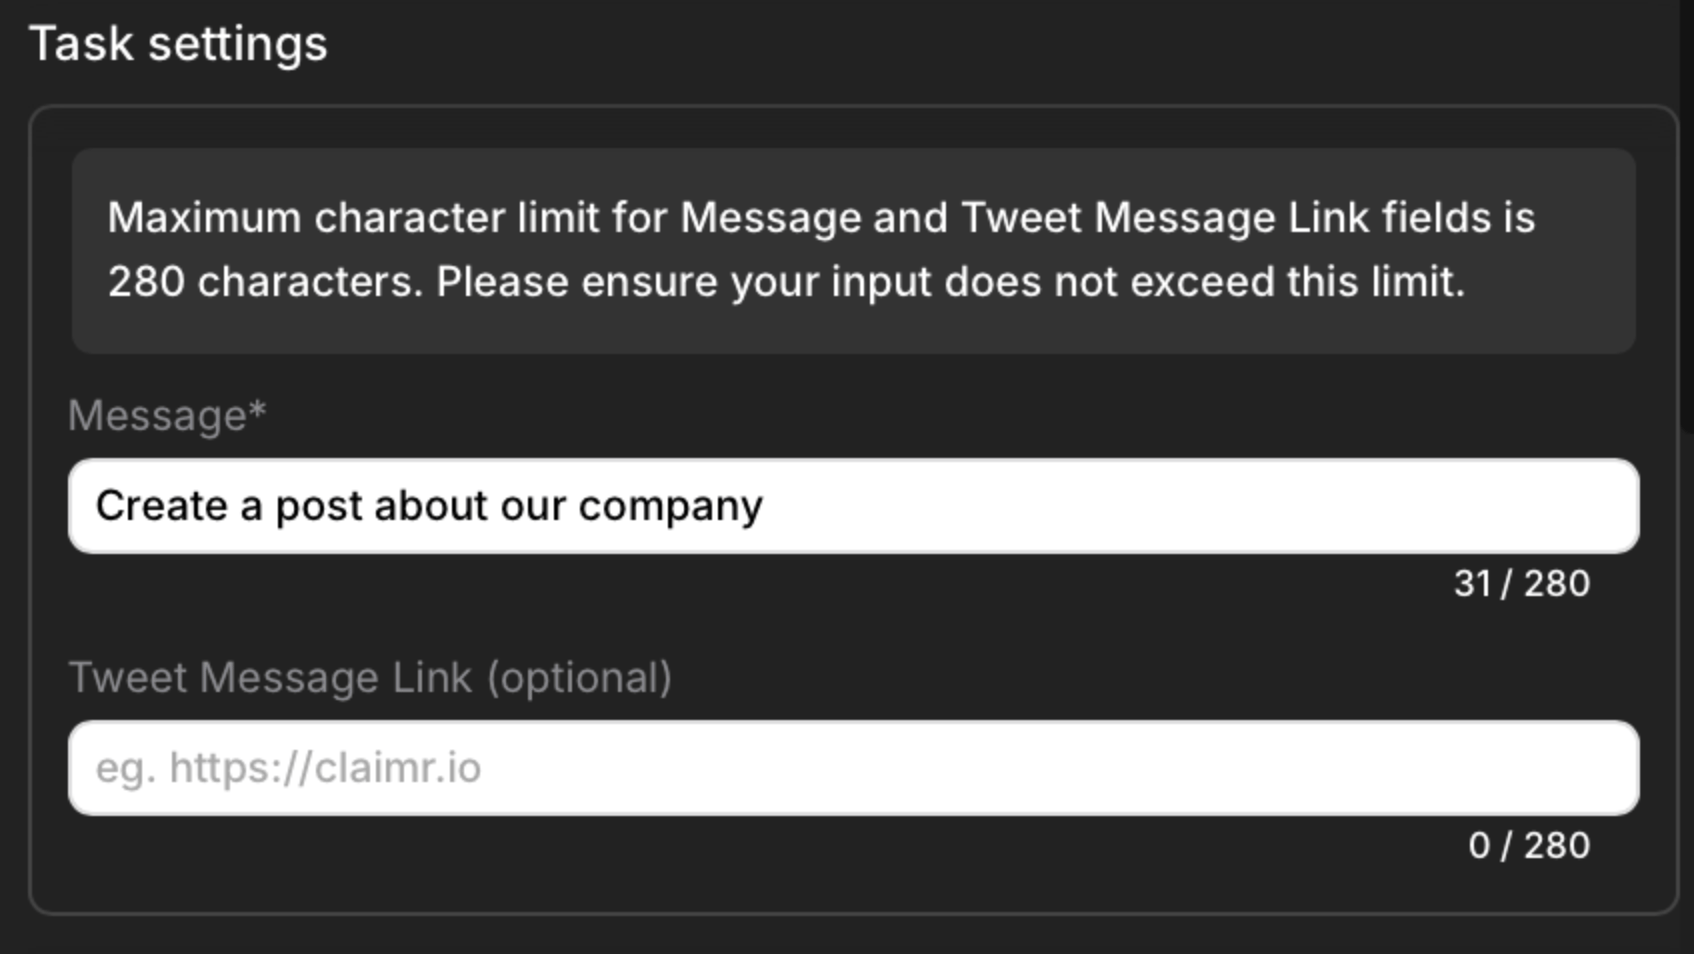
 Use this task to reward users for creating a post on X with specific content. Enter the message you want users to include in their X post in the **Message** field. Optionally, enter a URL you want users to include in their post in the **Tweet Message Link** field.
 ### Comment
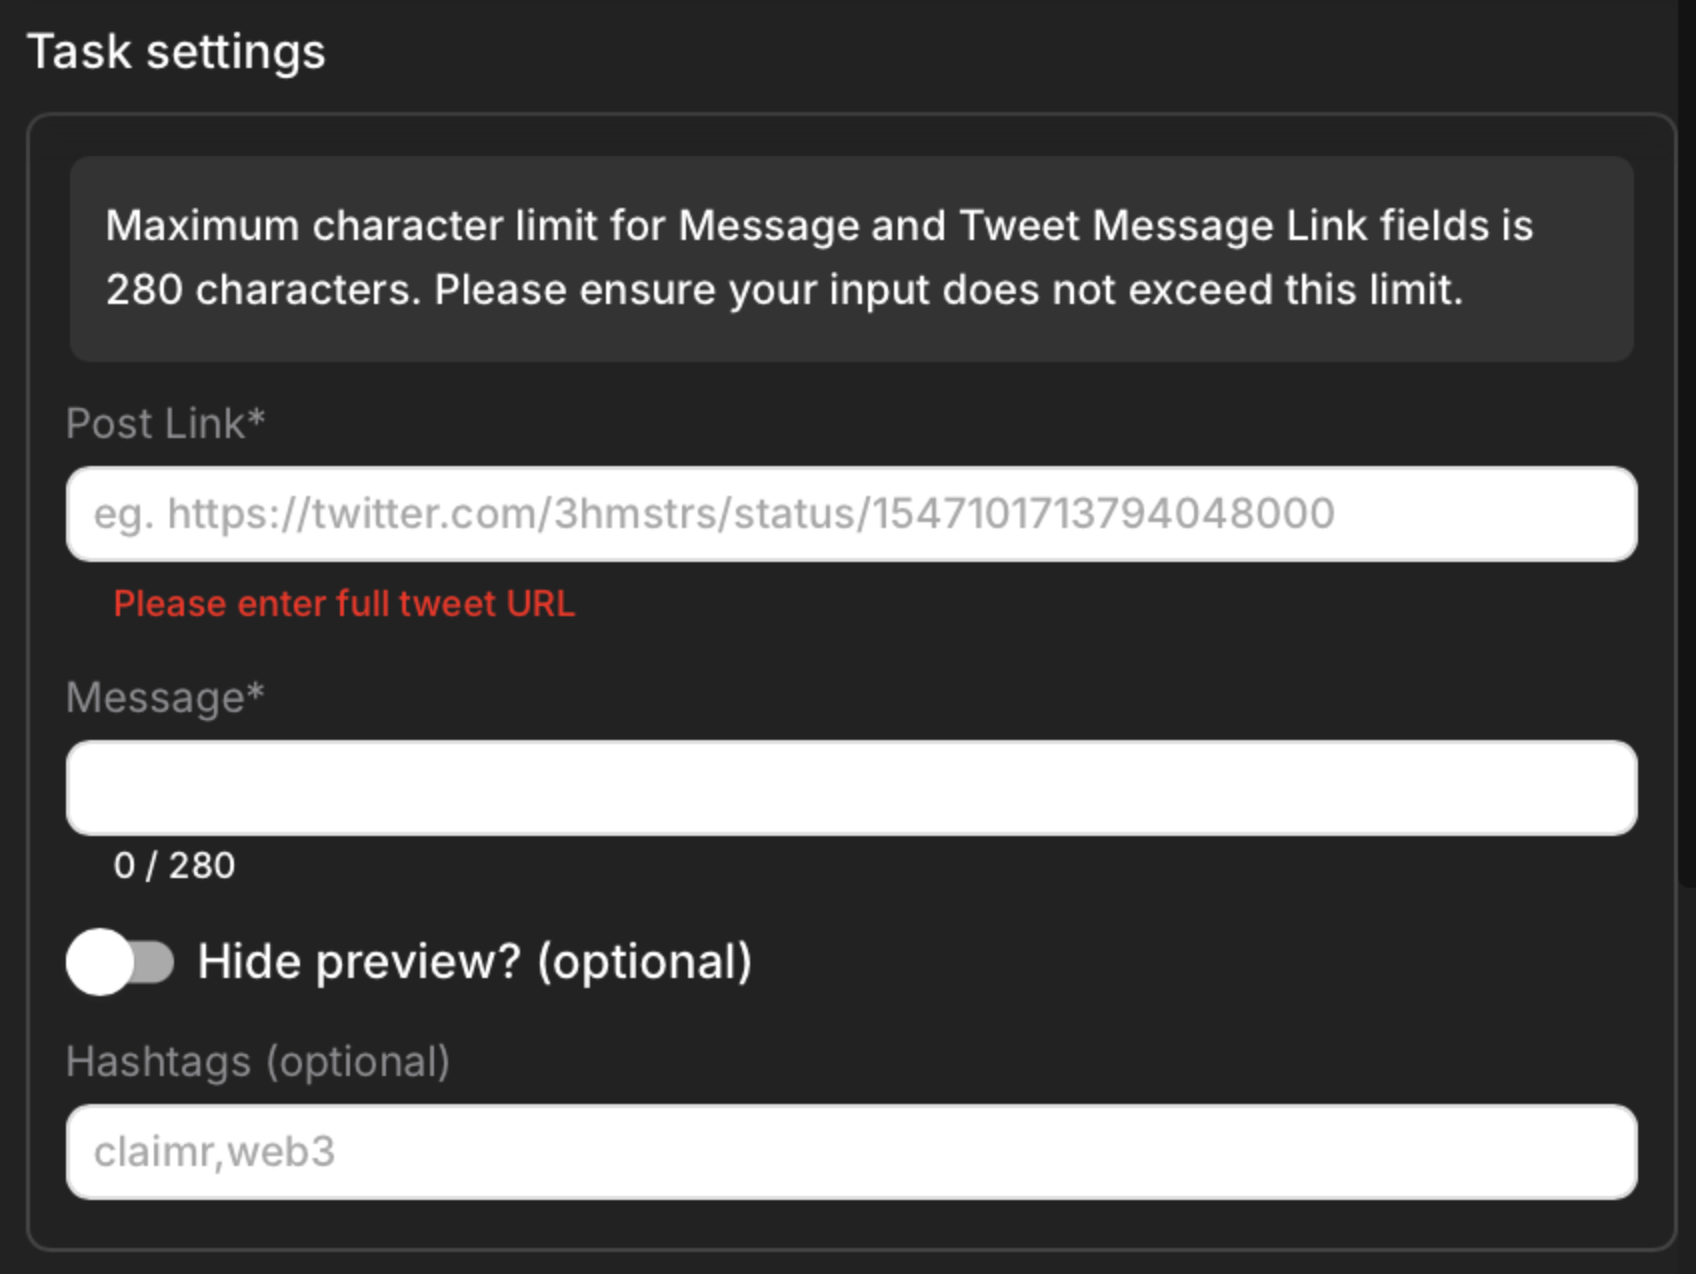
 Use this task to reward users for commenting on a specific post on X. Enter the full URL of the X post you want users to comment on in the **Post Link** field. Optionally, enable the **Hide preview?** toggle to hide the post preview within the task and enter any required hashtags in the **Hashtags** field.
 ### Quote
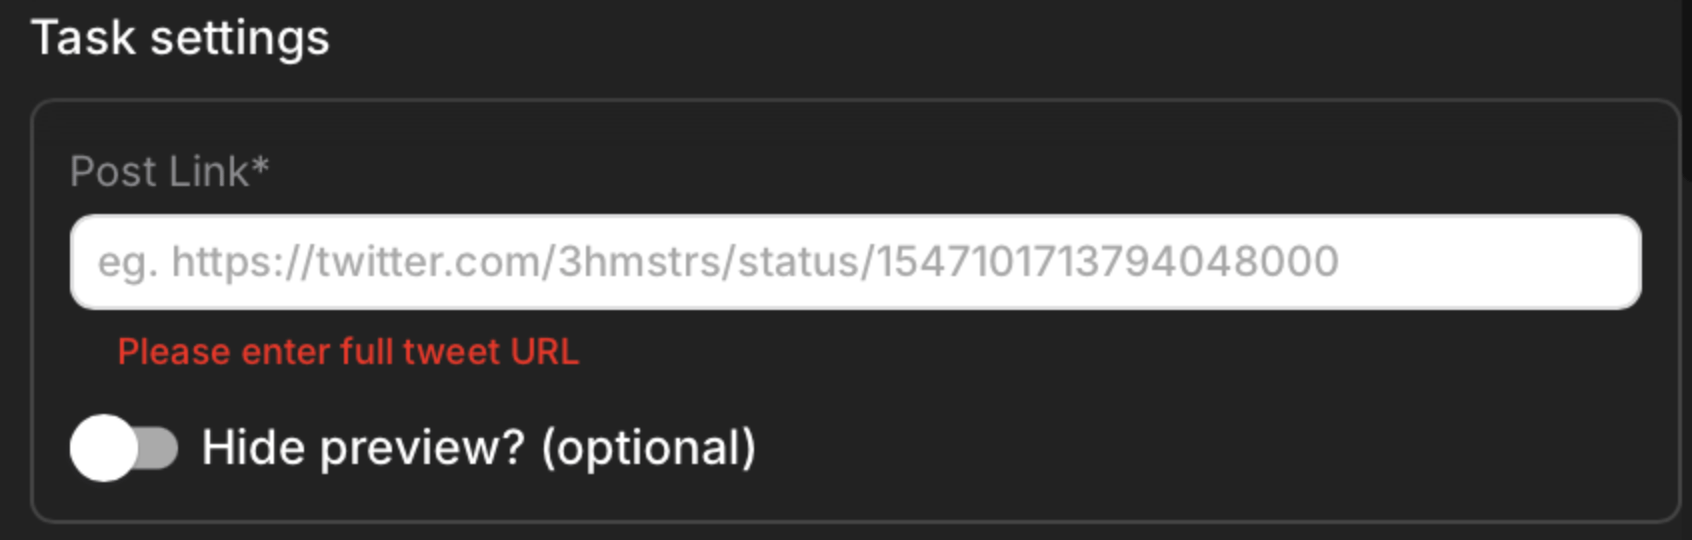
 Use this task to reward users for quoting a specific post on X. Enter the full URL of the X post you want users to quote in the **Post Link** field. Optionally, enable the **Hide preview?** toggle to hide the post preview within the task.
 ### Followers count
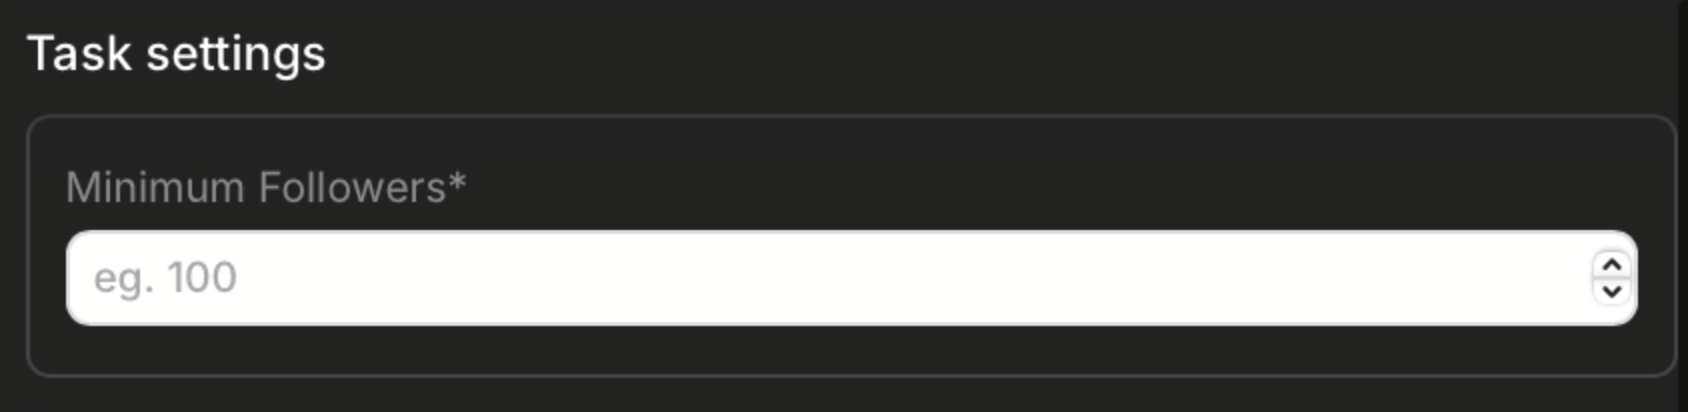
 Use this task to reward users for having a certain number of followers on their X account. Enter the minimum required number of followers a user must have in the **Minimum Followers** field.
 ## Preview your campaign
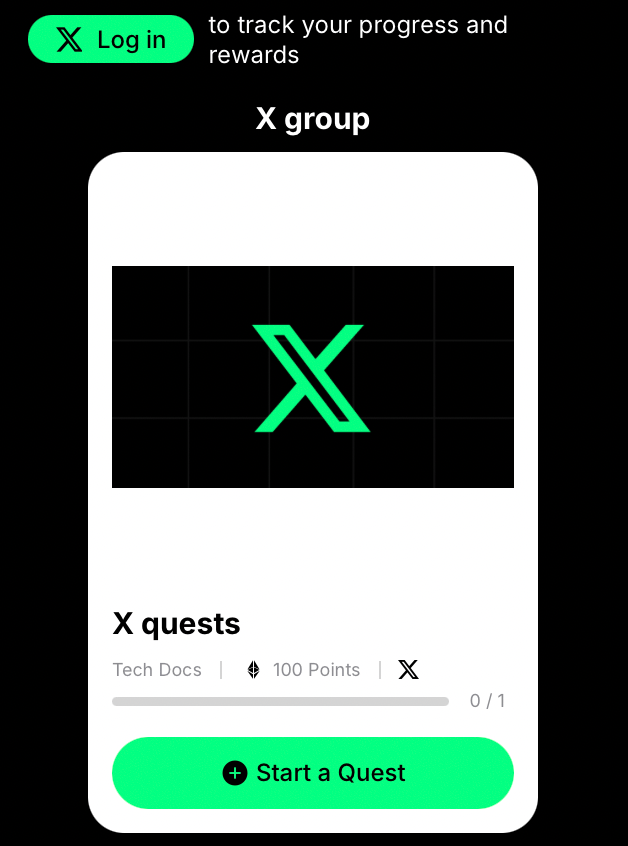
Once you've configured all the campaign settings, see how it will appear to users. Click the **Preview** button (a play icon), located in the top-right of the task settings window. The preview opens in a new tab, showing desktop, tablet, and mobile views.
## Preview your campaign
Once you've configured all the campaign settings, see how it will appear to users. Click the **Preview** button (a play icon), located in the top-right of the task settings window. The preview opens in a new tab, showing desktop, tablet, and mobile views.
 In preview mode, try clicking the buttons and completing the actions to see exactly how participants will interact with the task.
 Looking to build campaigns for other platforms like Discord or Telegram? Check out our dedicated tutorials for step-by-step guides on those specific setups.