> ## Documentation Index
> Fetch the complete documentation index at: https://docs.claimr.io/llms.txt
> Use this file to discover all available pages before exploring further.
# Create new quest
> Build engaging quest journeys that guide your users through rewarding experiences in your campaign.
## Before you start
Make sure you have:
* An active campaign in Claimr
* A quest group created (or you'll create one during this process)
* A clear idea of what you want users to accomplish in this quest
## Create your quest
From your Claimr main panel, click **Campaigns** in the header menu. Choose the campaign where you want to add the quest and click on it.
In the campaign header menu, click the **Quests** tab. You'll see all quest groups you've created for this campaign.
 If you don't have an appropriate group for your quest yet:
1. Click the **Create Group** button on the right
2. Give your group a descriptive name (e.g., "Social Tasks" or "Onboarding Journey")
3. Click **Create**
Your new group will appear in the quest groups list.
Click **+ Create quest** within your chosen quest group. A pop-up window will appear with the quest creation form.
If you don't have an appropriate group for your quest yet:
1. Click the **Create Group** button on the right
2. Give your group a descriptive name (e.g., "Social Tasks" or "Onboarding Journey")
3. Click **Create**
Your new group will appear in the quest groups list.
Click **+ Create quest** within your chosen quest group. A pop-up window will appear with the quest creation form.
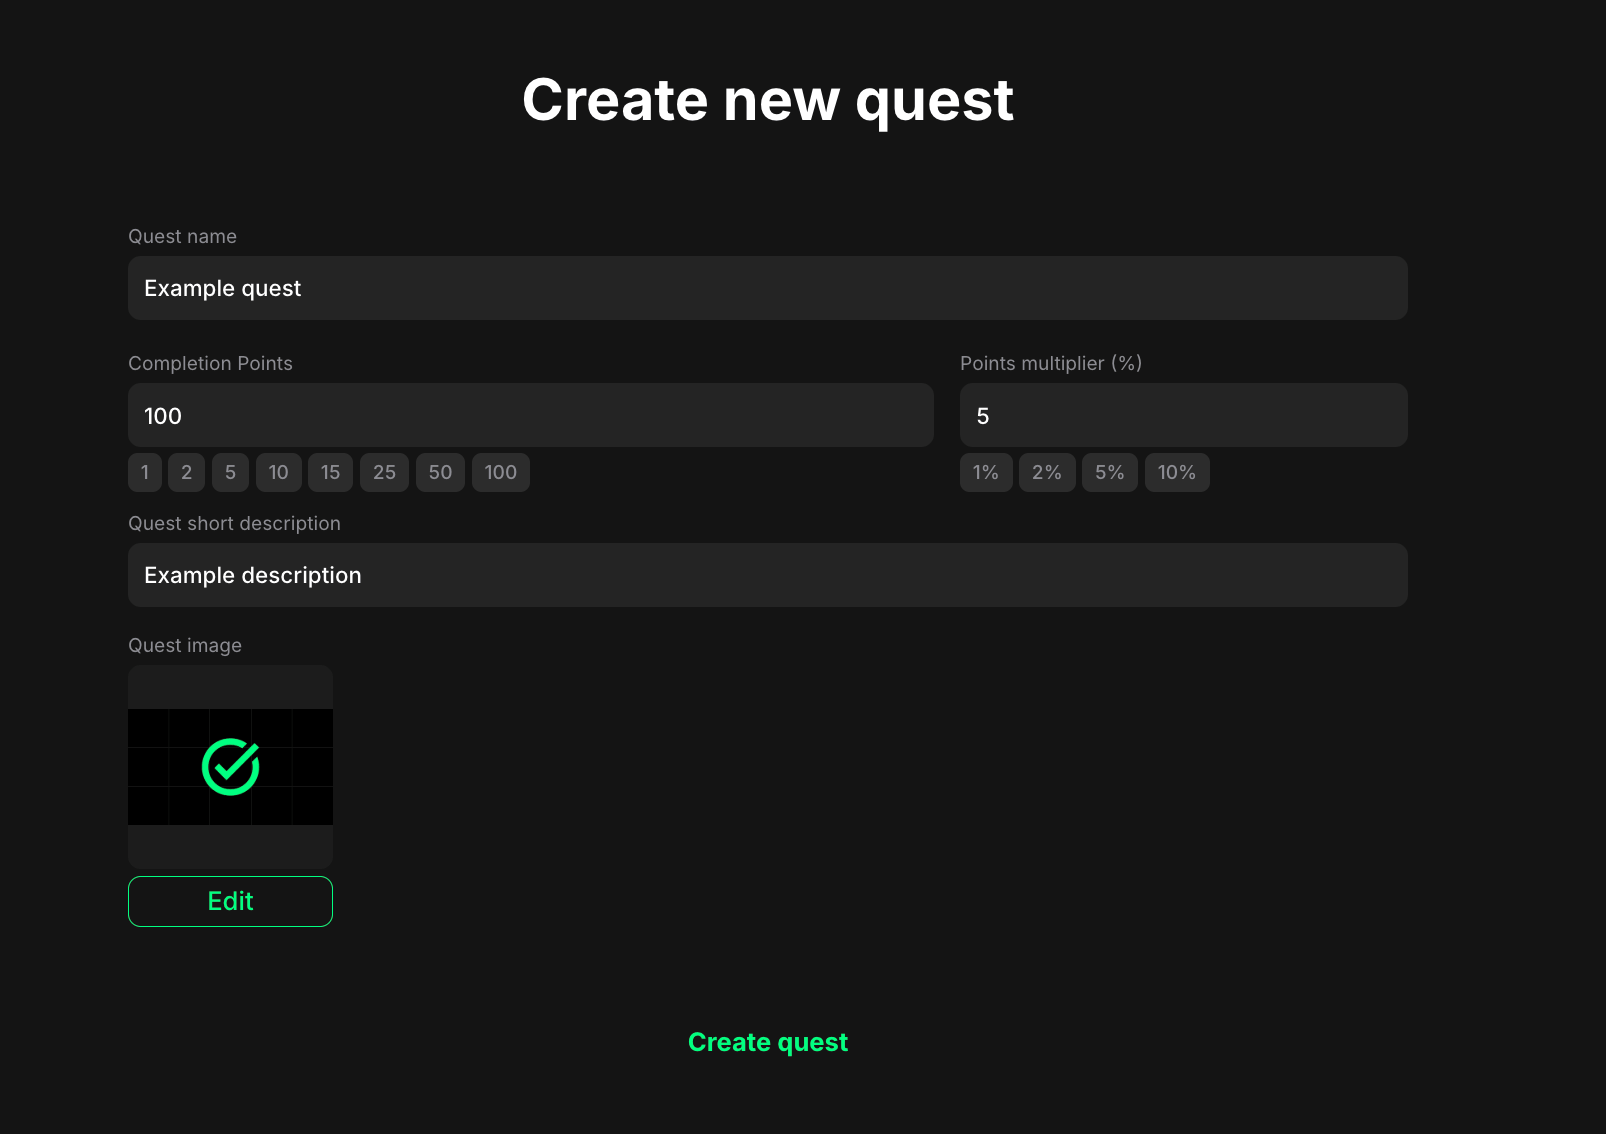 Configure the essential settings for your new quest:
* **Quest name**: Enter a catchy, memorable name that clearly describes what users will do. Examples: "Social starter", "Daily login bonus", "Invite your friends"
* **Completion Points**: Set the base points users earn for completing this quest. Use the quick-select buttons (1, 2, 5, 10, 15, 25, 50, 100) or type a custom amount. Consider the effort required and your overall reward structure.
* **Points multiplier (%)**: Add a percentage bonus to boost the reward. Use quick-select buttons (1%, 2%, 5%, 10%) or enter a custom percentage. Example: Setting 5% on 100 points gives users 105 points total.
* **Quest short description**: Write a brief summary of what this quest involves. This appears on the quest card in your campaign. Tell users what they'll do and what they'll gain. Keep it clear and engaging.
* **Quest image**: Upload a visual that represents your quest. Click **Upload** to choose an image from your computer. Use eye-catching visuals that match your quest theme.
Click the **Create quest** button at the bottom of the pop-up. You'll be redirected to the quest settings page.
Start with simple quests to test your reward structure before building complex multi-task journeys. You can always add more depth later.
## Next steps
Configure your quest in detail:
1. **Add tasks** — Create the specific actions users will complete
2. **Configure Quest Settings** — Set up rules, dependencies, and advanced options. See [Quest settings](/quests/quest-settings).
3. **Set up rewards** — Define what users earn beyond base points
Configure the essential settings for your new quest:
* **Quest name**: Enter a catchy, memorable name that clearly describes what users will do. Examples: "Social starter", "Daily login bonus", "Invite your friends"
* **Completion Points**: Set the base points users earn for completing this quest. Use the quick-select buttons (1, 2, 5, 10, 15, 25, 50, 100) or type a custom amount. Consider the effort required and your overall reward structure.
* **Points multiplier (%)**: Add a percentage bonus to boost the reward. Use quick-select buttons (1%, 2%, 5%, 10%) or enter a custom percentage. Example: Setting 5% on 100 points gives users 105 points total.
* **Quest short description**: Write a brief summary of what this quest involves. This appears on the quest card in your campaign. Tell users what they'll do and what they'll gain. Keep it clear and engaging.
* **Quest image**: Upload a visual that represents your quest. Click **Upload** to choose an image from your computer. Use eye-catching visuals that match your quest theme.
Click the **Create quest** button at the bottom of the pop-up. You'll be redirected to the quest settings page.
Start with simple quests to test your reward structure before building complex multi-task journeys. You can always add more depth later.
## Next steps
Configure your quest in detail:
1. **Add tasks** — Create the specific actions users will complete
2. **Configure Quest Settings** — Set up rules, dependencies, and advanced options. See [Quest settings](/quests/quest-settings).
3. **Set up rewards** — Define what users earn beyond base points