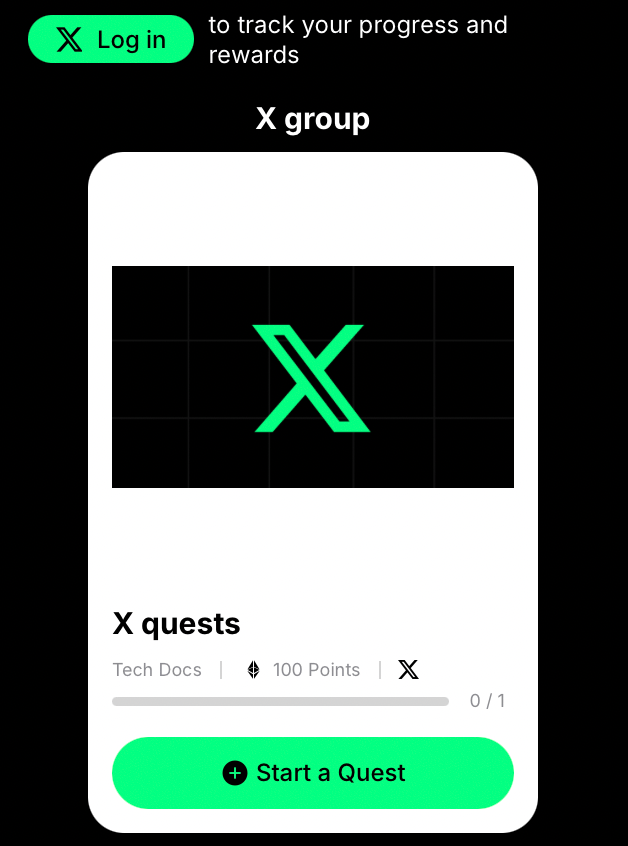
- Increase your X followers.
- Promote your posts and drive engagement (likes, reposts, comments).
- Increase brand awareness and social media presence.
- Encourage users to participate in discussions or challenges on X.
Create your campaign
1
Start a new campaign
From your Claimr dashboard, click Campaigns in the navigation menu, then click Create new campaign.
2
Fill in the campaign basics
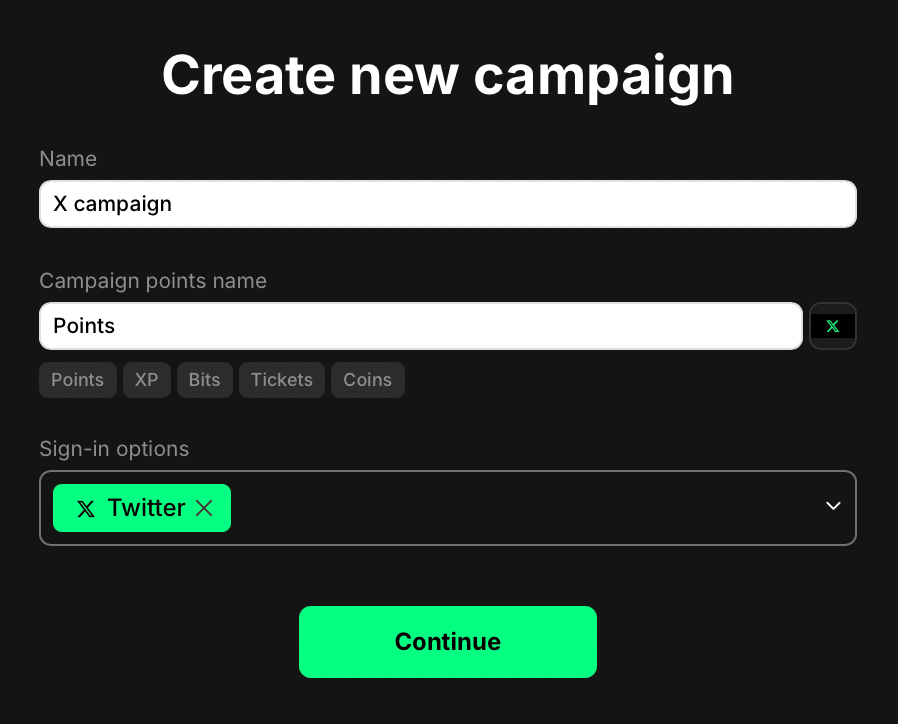
- Name: Enter a name for your campaign.
- Campaign points name: Enter the name for the points users will earn (e.g., Points, XP, Tokens).
- Sign-in options: Select X Twitter. This requires users to connect their X account to join and participate.
3
Choose Empty and create the campaign
You’ll now see options to start with a pre-built template or from scratch. Select Empty to build your campaign manually and click Create campaign.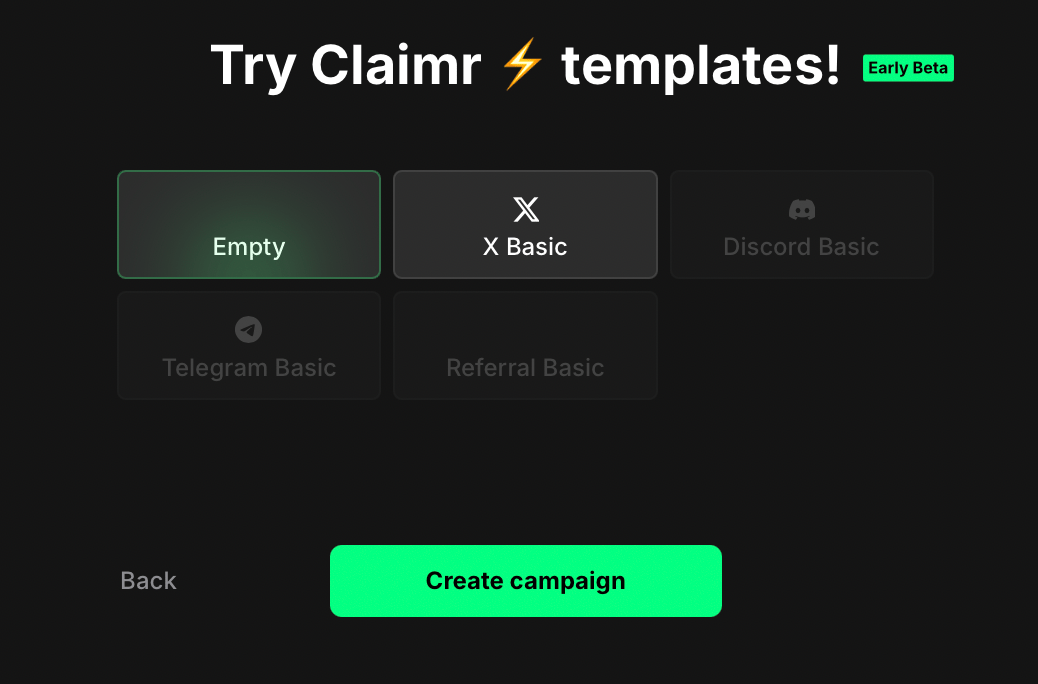
Create your quest
Once your campaign is created, you’ll be automatically taken to the Groups of quests section. This is where you’ll add and organize your quests.
1
Rename the default group
Change the name of the Default Group by clicking the edit icon (pencil) on the right. In the General settings that open, type the new name in the Name field, then click Update to save. You’ll be returned to the Groups dashboard.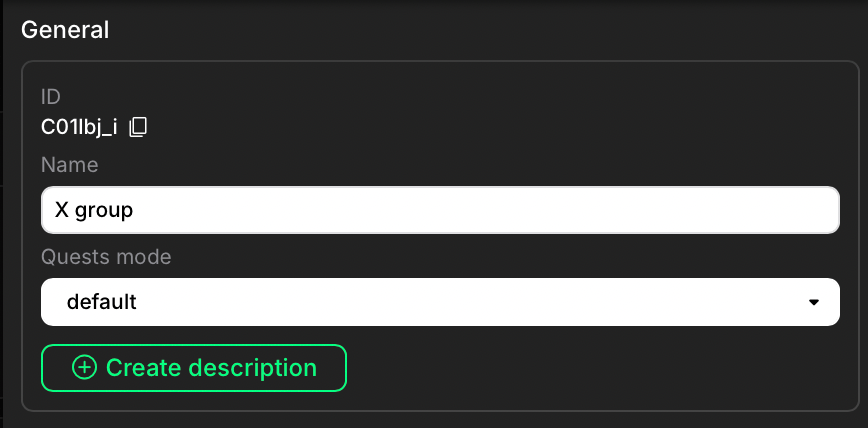
2
Create your first quest
Within the Group area, click + Create quest. Enter a descriptive name for your first quest and click Create.Your newly created quest will now appear as a card within the group on the Quests page.
3
Open the quest settings
Click directly on the quest card to open its dedicated settings page.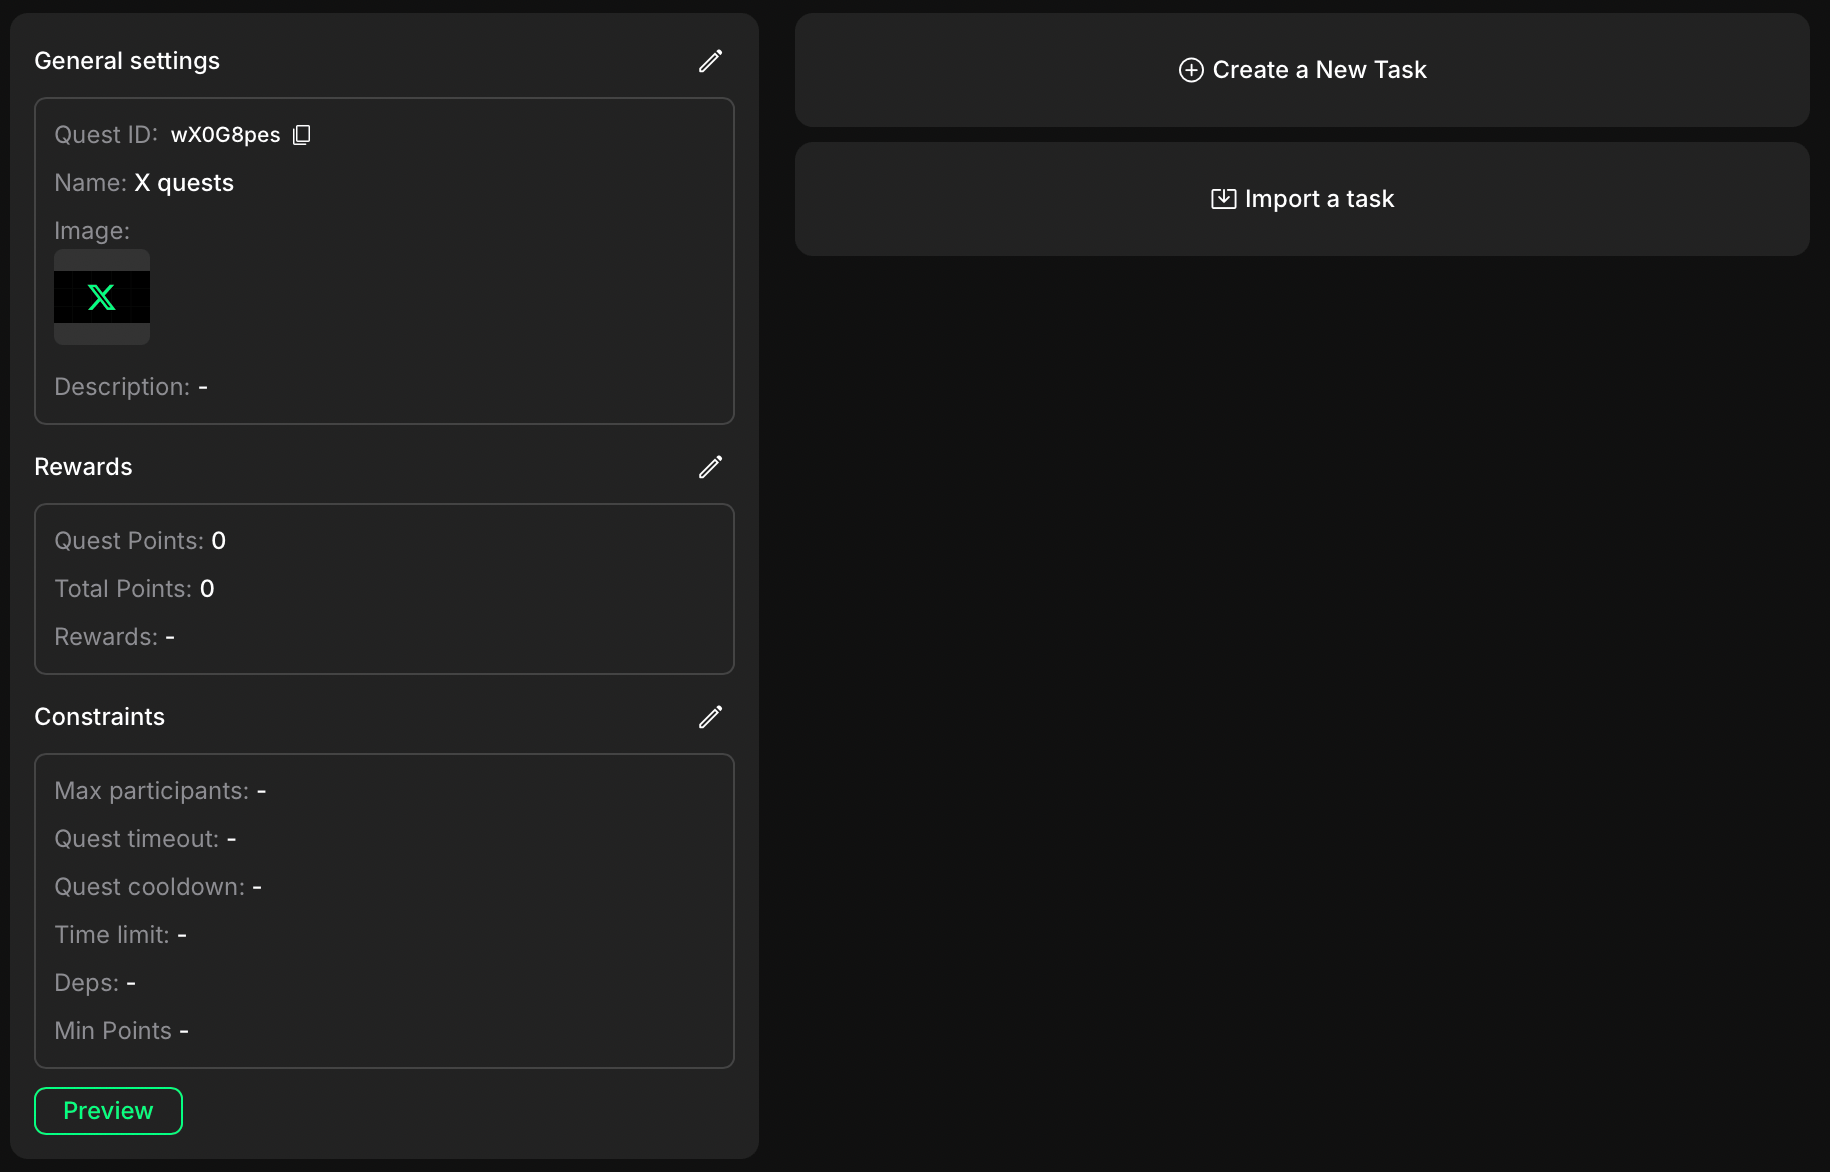
For a detailed explanation of all available quest settings, see Quest settings.
Create your tasks
Now that your first quest is created, the next step is to add the specific Tasks users need to complete. On the Quest Settings page, click the + Create new task button. This will open the task configuration window.1
Configure general settings
The task configuration window starts with the General settings. Enter a name for this task. This name is essential for identifying the task internally and is not shown to participants.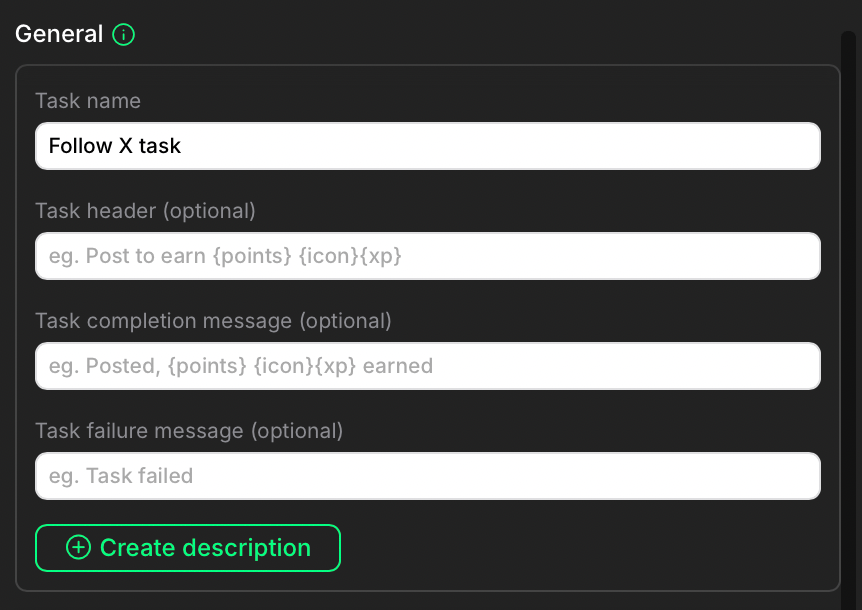
2
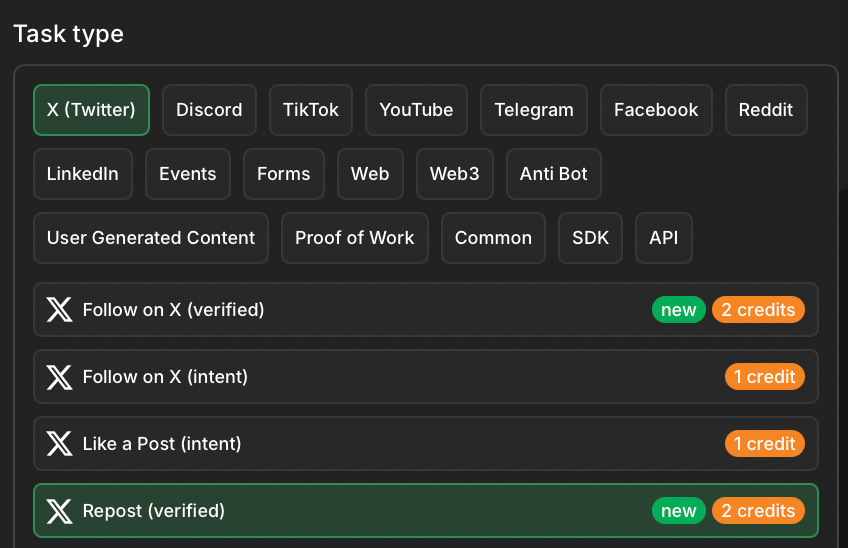
Set the task type
Select X (Twitter) from the platform options, then select the specific task type Follow on X. This task rewards users for following a specified X account and is a Verified task.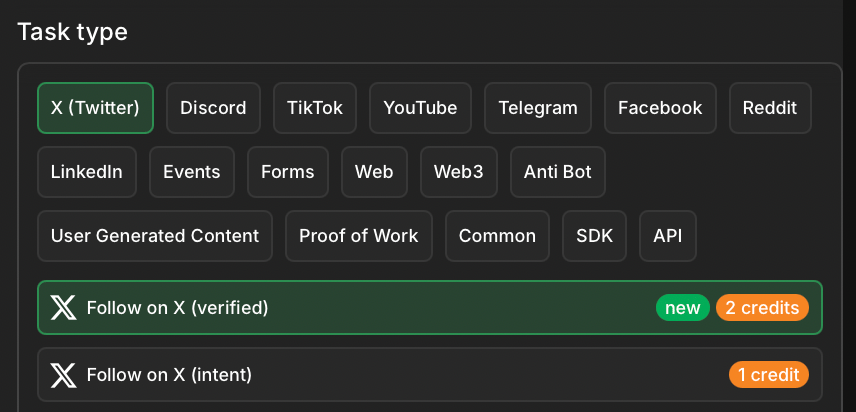
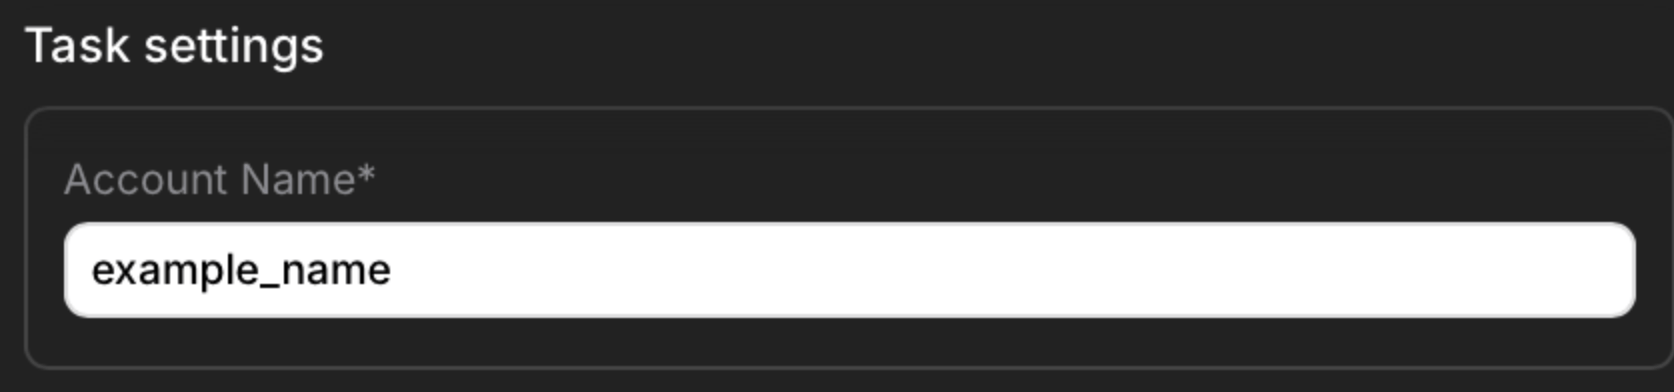
To add multiple tasks to your campaign, click + Create new task for each one and repeat the configuration process.
3
Set task rewards
Scroll down to the Task rewards section to find the Completion points field. Enter the base number of points a user earns for successfully completing this specific task.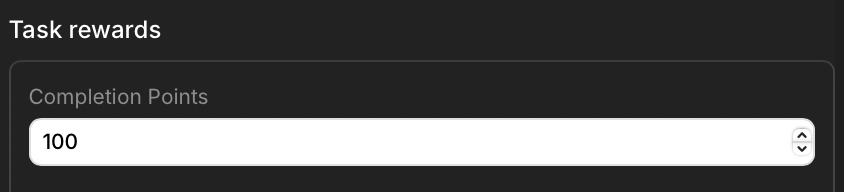
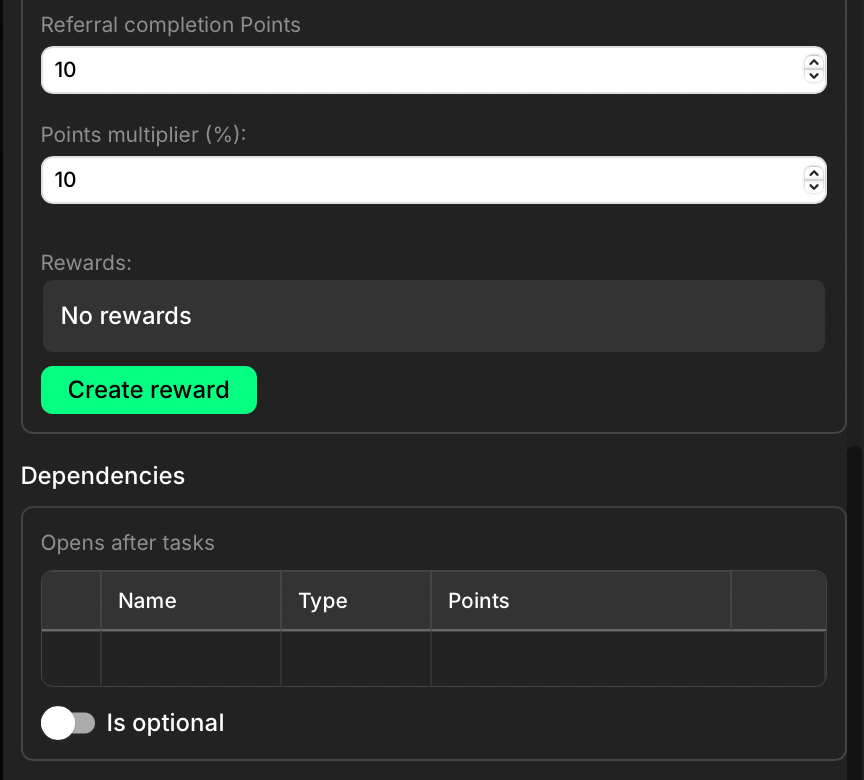
Save and preview the task
Once you have configured all the task settings, click Create to save your configuration. Your task is now configured within the quest. To see how this task will appear to users, click the Preview button (a play icon) located in the top-right, or navigate back to the main Quest settings page and click Preview under the quest details.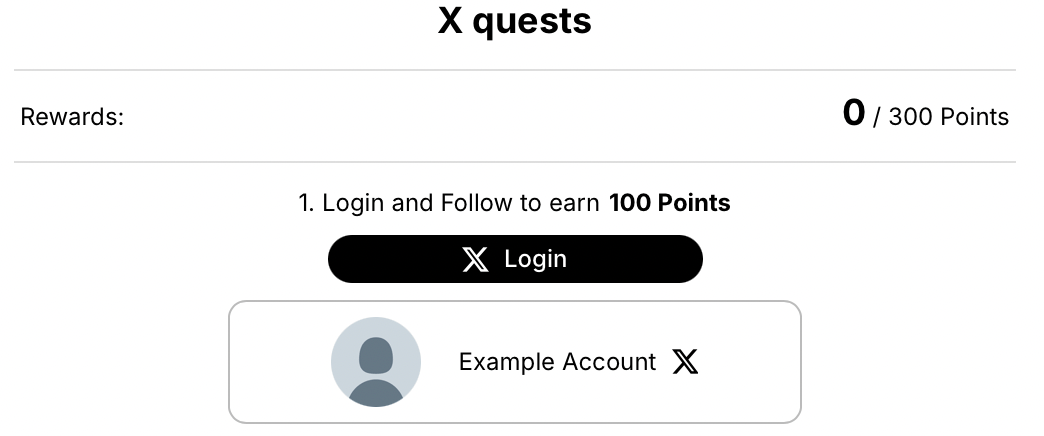
Add more tasks
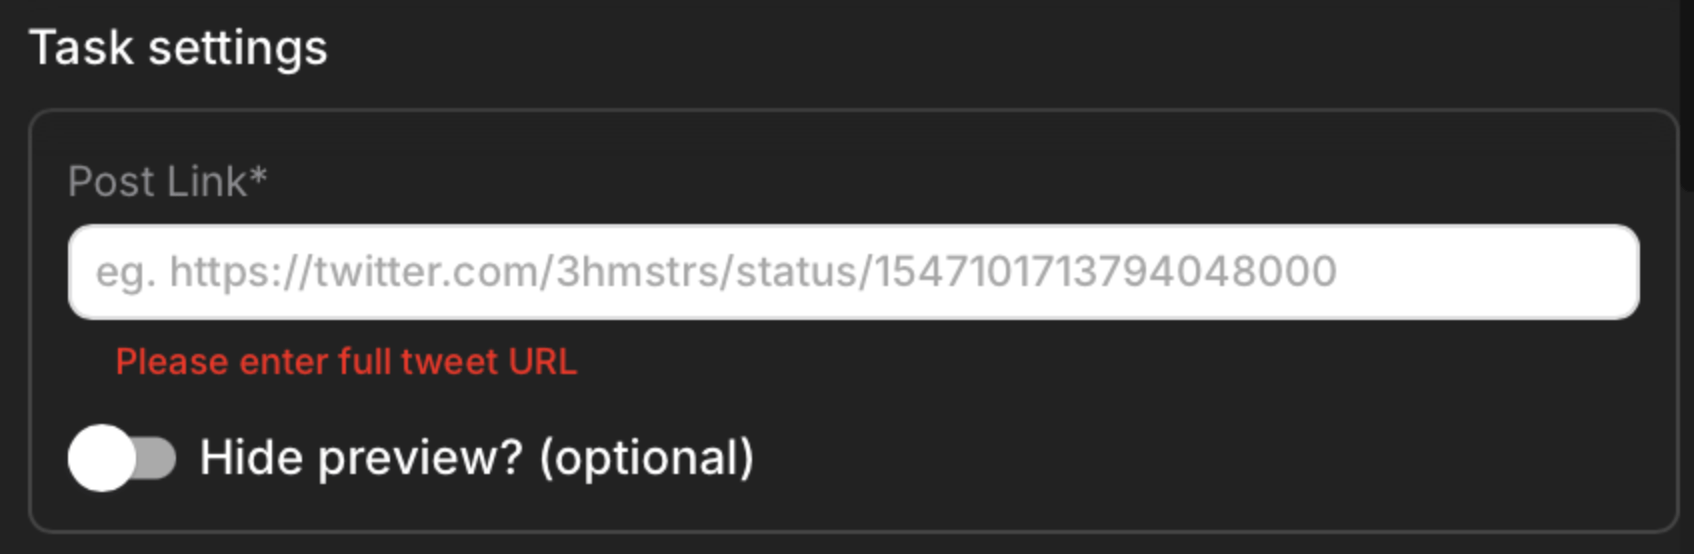
To add more actions for users to complete, repeat the task creation process starting from the Create new task page. Here are the settings for the most popular X tasks.Repost
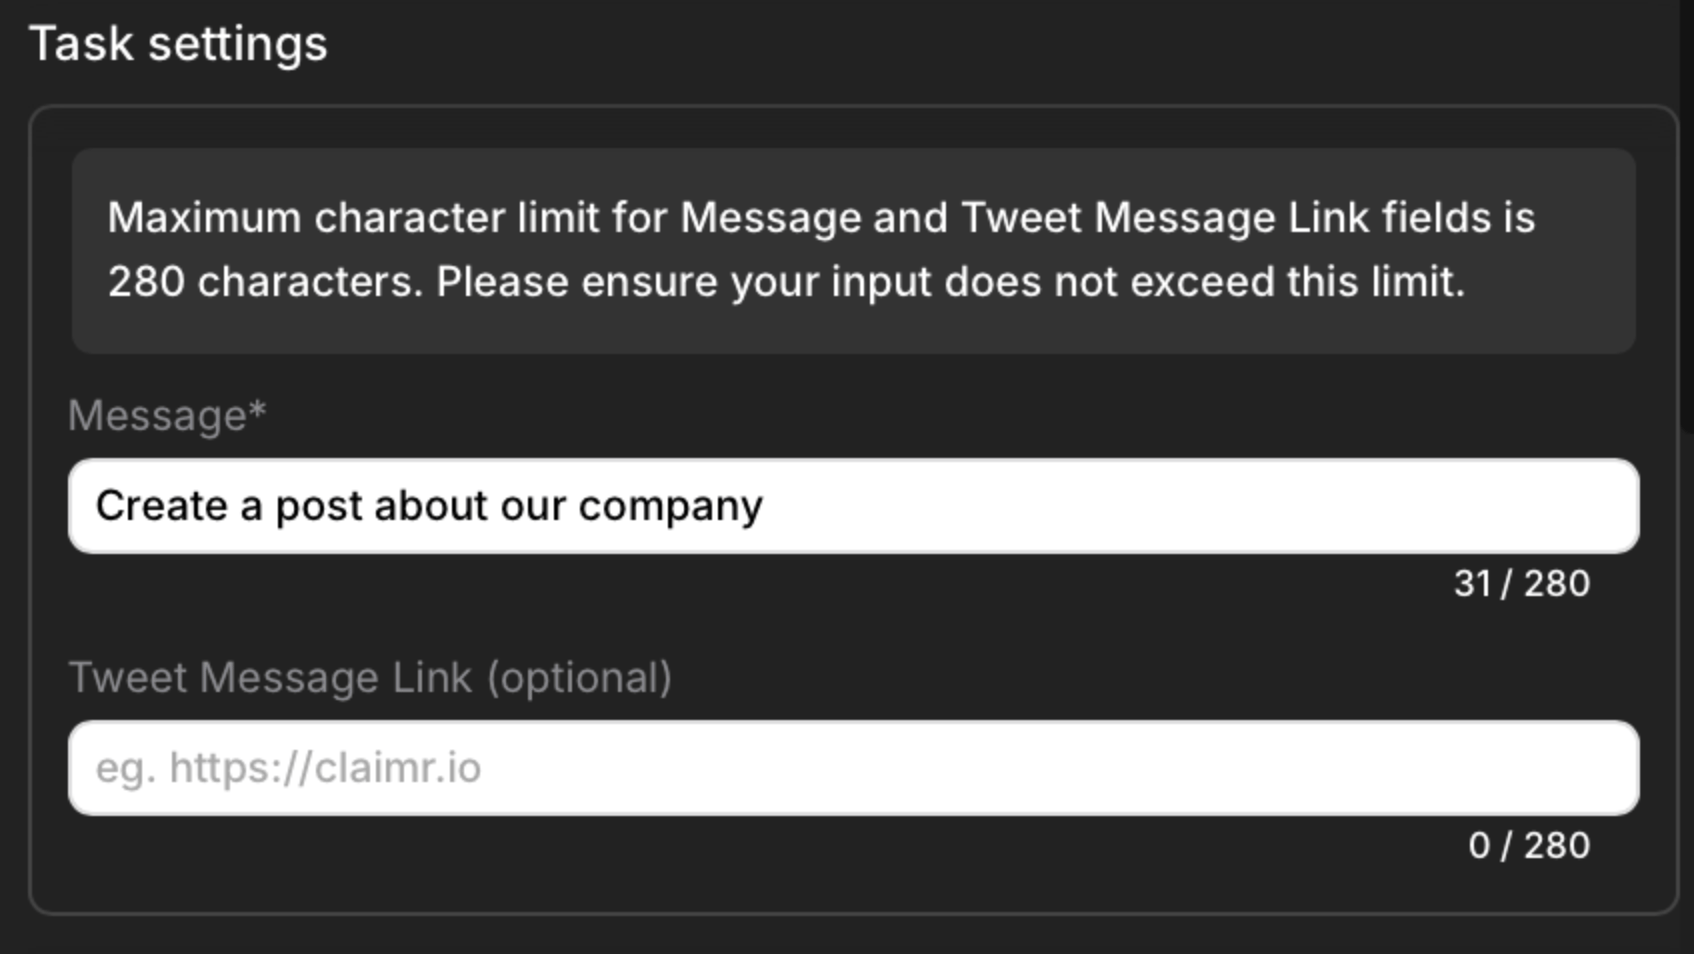
Post

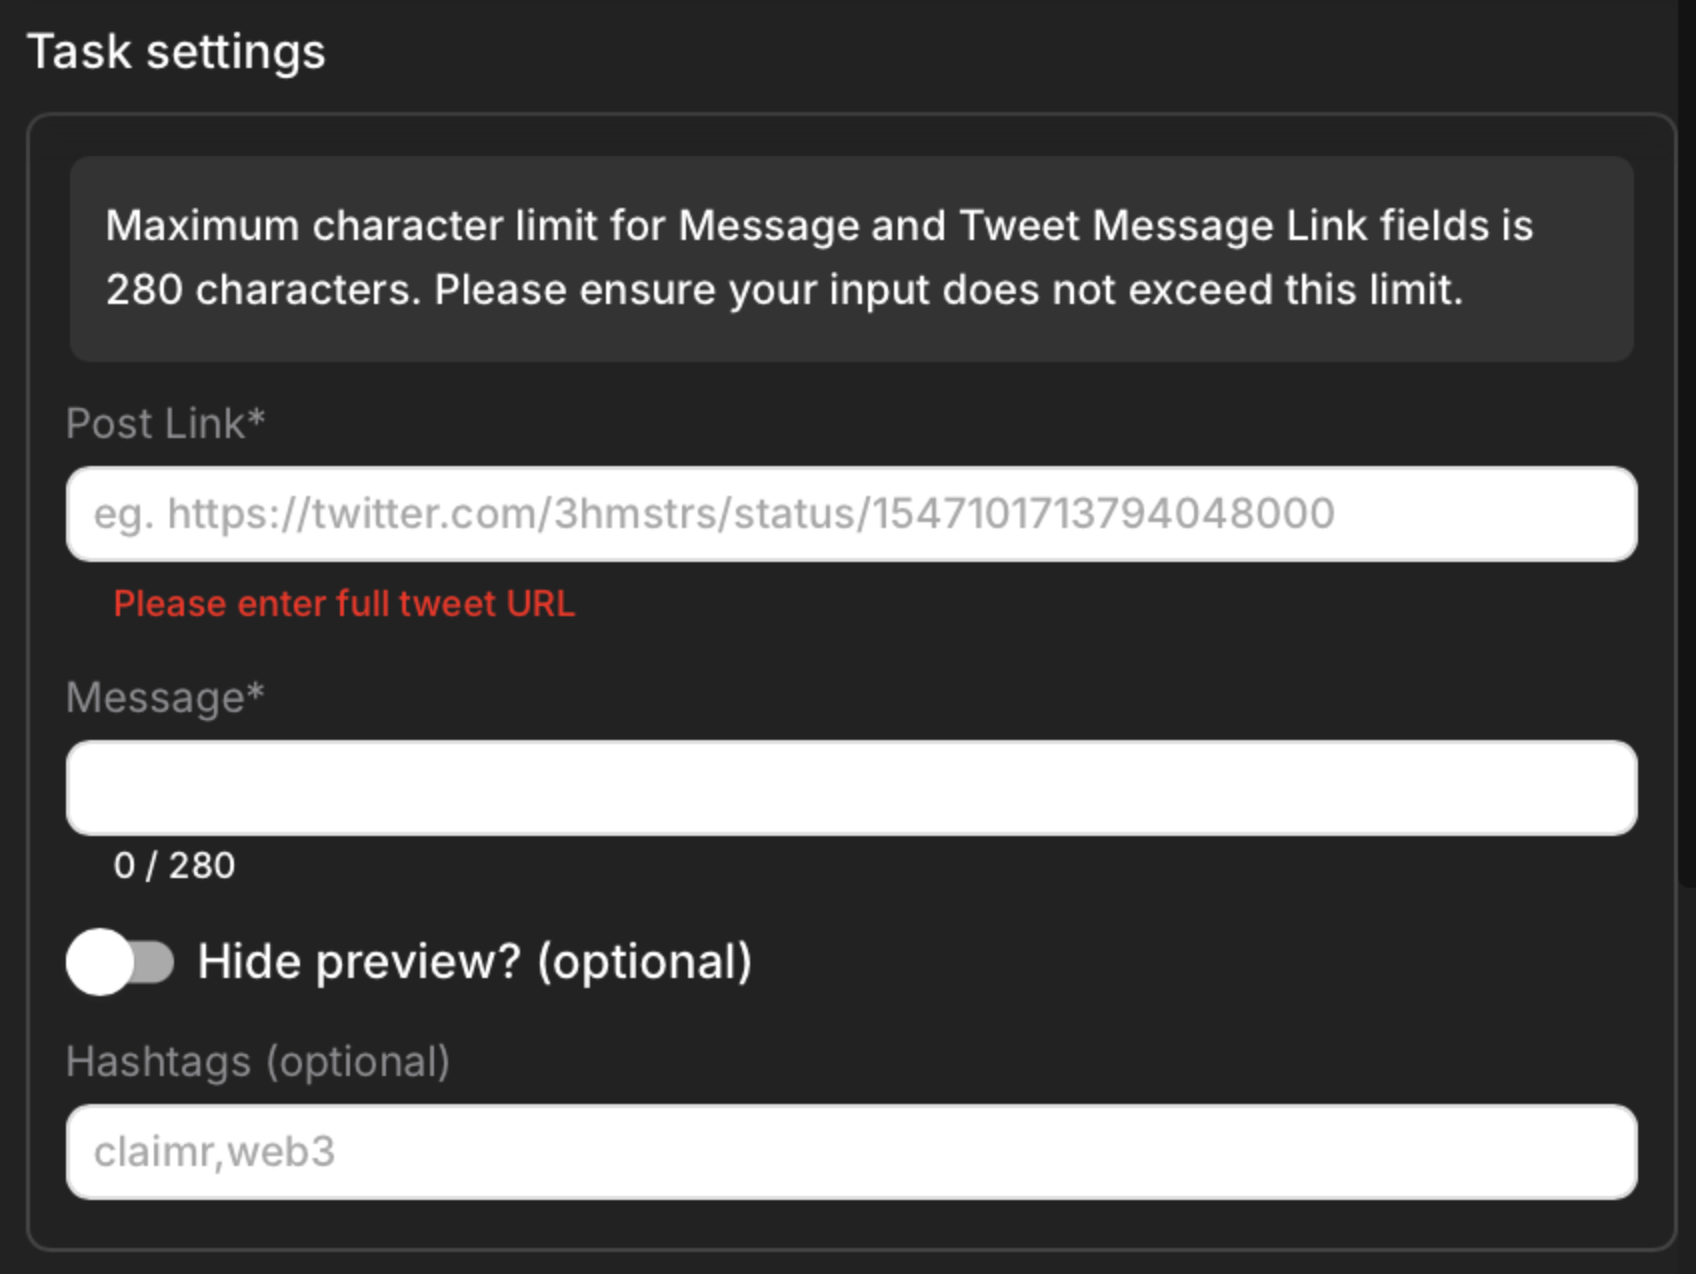
Comment

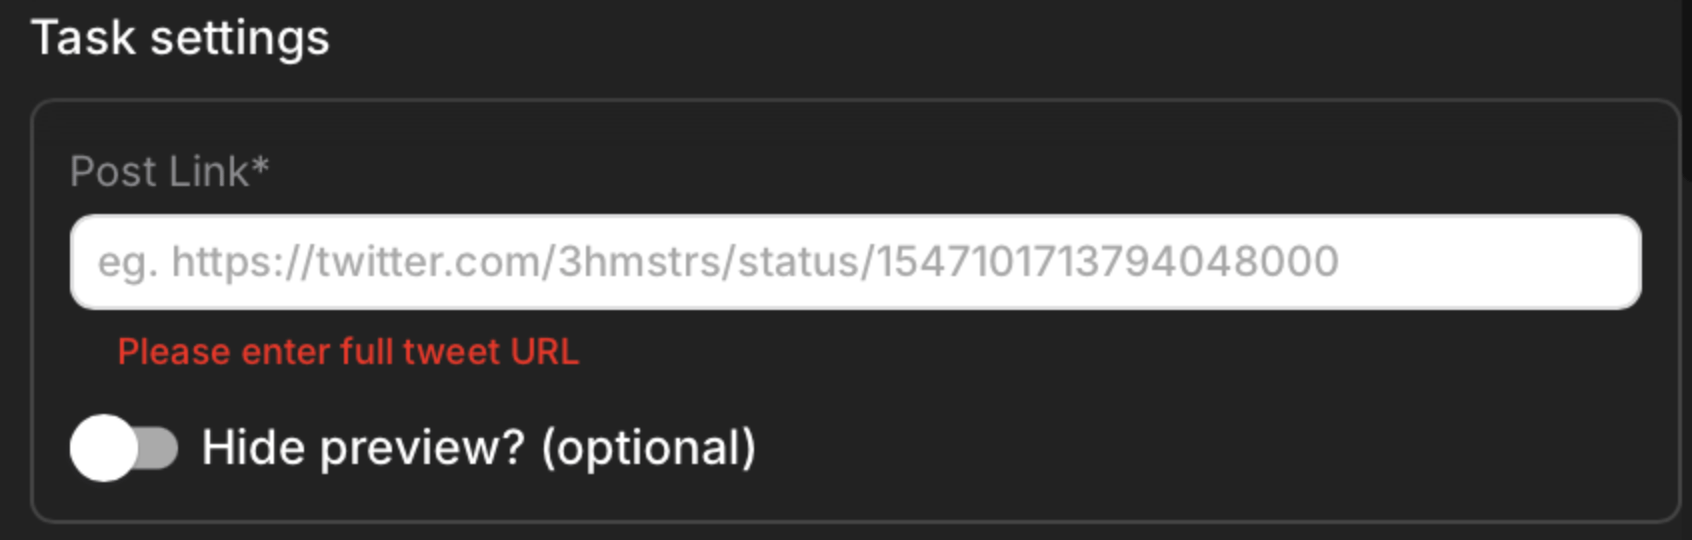
Quote

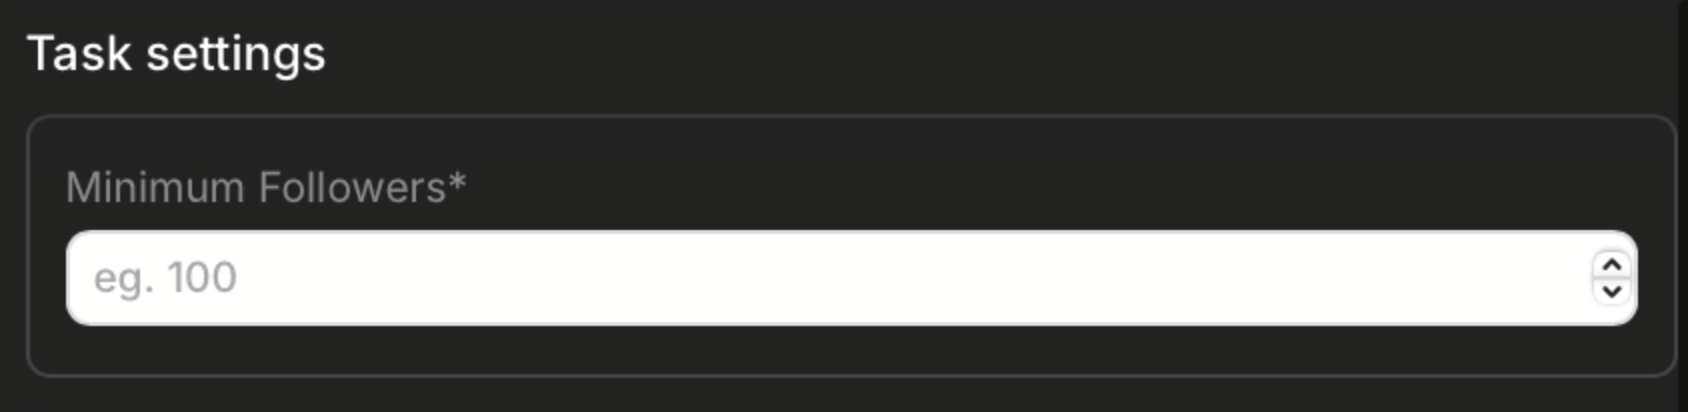
Followers count

Preview your campaign
Once you’ve configured all the campaign settings, see how it will appear to users. Click the Preview button (a play icon), located in the top-right of the task settings window. The preview opens in a new tab, showing desktop, tablet, and mobile views.